
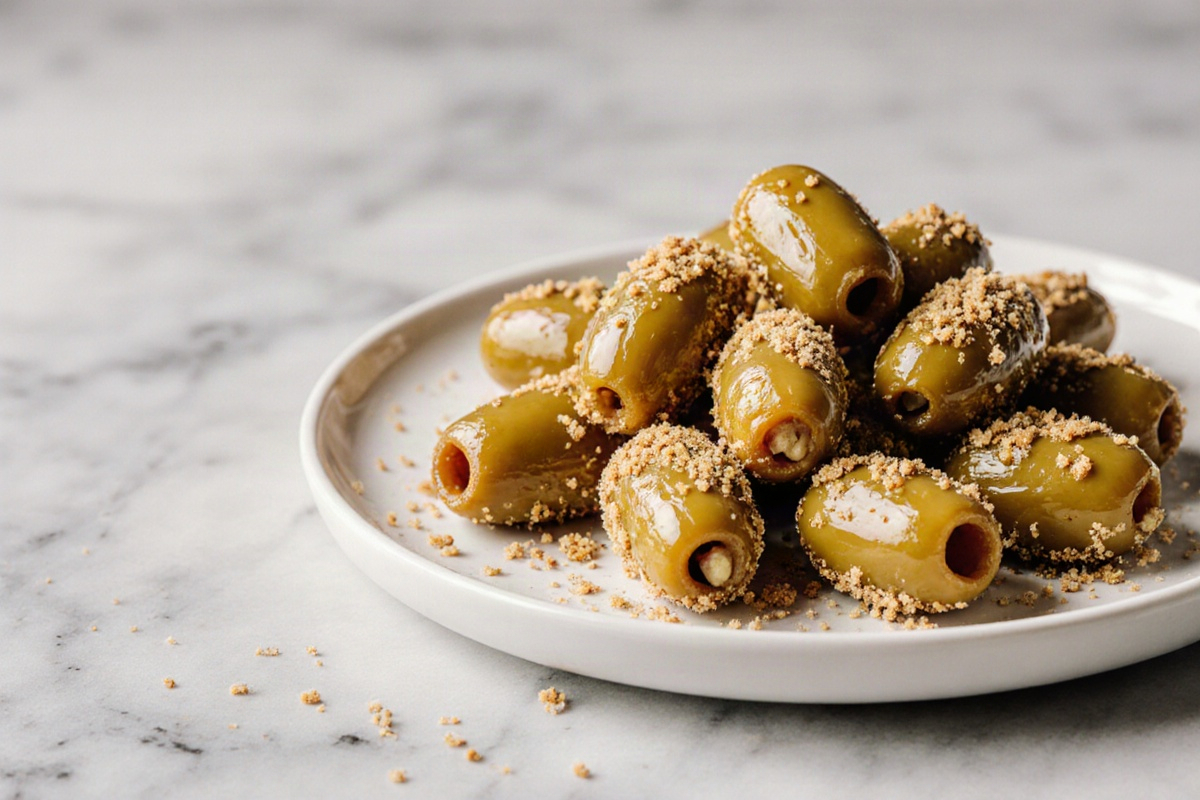
Air Fryer Fried Olives have become a go-to appetizer for me and I’m thrilled to share this recipe! I used to dread making these at home because let’s face it, they can be a greasy mess if you’re not careful. After a few too many burnt batches in my quest for the perfect crisp, I discovered that following a few simple steps makes all the difference. You’ll love how easy and quick they are to whip up, plus they’re a hit with everyone. With a golden-brown crust that gives a satisfying crunch and a juicy olive center, they’re perfect for any occasion, whether it’s a casual weeknight or an entertaining night with friends.
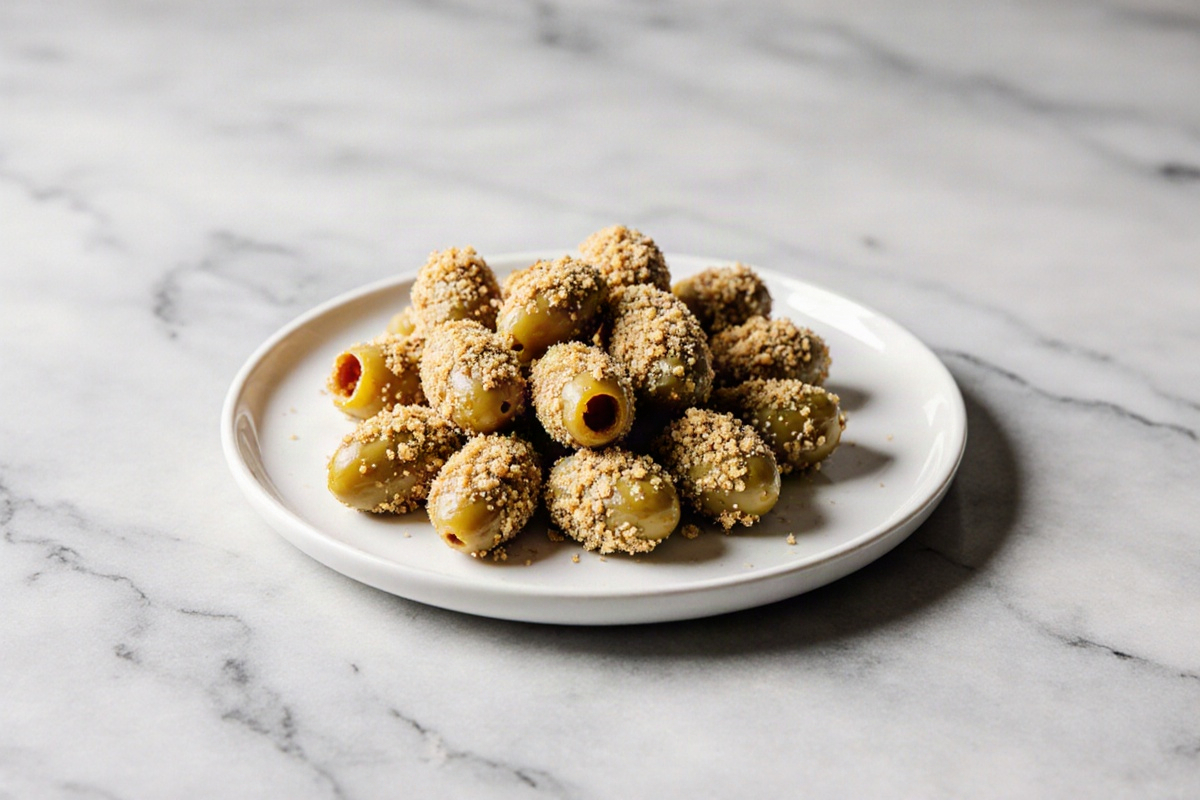
Get ready to crunch into these delightful air fryer fried olives!
Recipe Card – Air Fryer Fried Olives
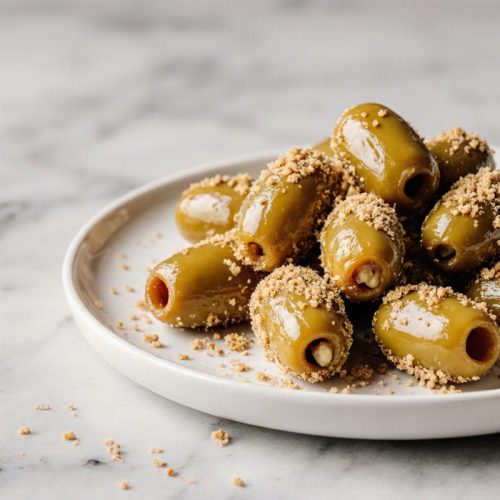
Air Fryer Fried Olives: A Crispy Appetizer
Equipment
- Air Fryer
- Shallow bowls or plates
- Tongs
- Small wire rack or tray
- Spray bottle
Ingredients
Ingredients
- 300 g Olives well-drained and dried
- 100 g Breadcrumbs for coating
- 1 Egg beaten (or plant-based binder)
- 15 ml Olive oil for spraying
- 1 g Salt to taste
- Herbs or seasonings optional, for added flavor
Instructions
- Start with well-drained olives and pat them dry to prevent sogginess.
- Create a three-part breading station: light dry mix, a beaten egg, and seasoned crumbs.
- Dip each olive through the stations, allowing excess coating to fall off before placing it on a parchment-lined tray.
- Preheat the air fryer to 190 °C. Place the olives in a single layer, ensuring they don’t touch.
- Cook for about 8–12 minutes until the coating is golden and crisp, shaking or turning them halfway through.
- Let them rest for a couple of minutes before serving with your choice of dipping sauce.
Notes
Air Fryer Fried Olives: A Crispy Appetizer
Why You’ll Love This Appetizer
Air Fryer Fried Olives provide a deliciously crispy bite without drowning them in oil. The salty center stays juicy while the outside becomes golden and crunchy, making them a hit at any gathering. I’ve burned a batch or two trying to rush things, so trust me when I say it’s worth the time to get them crispy just right. The end result is a snack that you can prep ahead and still enjoy with a simple beer, wine, or sparkling water.
This appetizer shines because you can play around with flavors and fillings depending on your taste and what you have handy. They’re easy to whip up on a weeknight but fancy enough for entertaining. Once you have the breading and air-frying down, you’ll find they store well for quick snacks later in the week. It’s a small effort for a big boost in flavor that makes any meal feel a bit more festive.
Ingredients
For this recipe, olives take center stage, accompanied by a light coating for crunch. Think of a mix of crispy crumbs, a binding element, and seasonings to enhance the olives’ natural flavor. You can use various breading components and a binder to help the crust stick while cooking. Try adding herbs, a hint of lemon zest, or grated cheese to the coating for added aroma and depth. If you need to be mindful of dietary restrictions, opt for gluten-free breadcrumbs or plant-based binders.
Remember, the ingredients are flexible. The key here is to have well-drained, dried olives, a coating that sticks well, and a little salt to brighten everything up. Dipping sauces are optional but highly recommended for variety. The goal is a crisp bite that complements the natural saltiness of the olives.
Equipment Needed
You’ll need an air fryer as your main appliance, plus a few simple tools. A sheet of parchment or a light spray of oil helps prevent sticking and makes cleanup a breeze. Have a couple of shallow bowls or plates ready for a breading station, and tongs to turn the olives gently. A small wire rack or tray for resting the olives after air frying helps keep the crust nice. If you want, preheating the air fryer for quick, even cooking is a good idea. Lastly, a spray bottle with oil works wonders to get a little extra crisp without the need for deep-frying.
How to Make Fried Olives
Prepare and Dry the Olives
Start with well-drained olives and pat them dry. Any moisture can lead to a soggy breading, so take a moment to blot them thoroughly. If you’re stuffing the olives, make sure the filling is snug but not too wet, or it might leak out during cooking. I’ve found that being patient at this step results in a crisper crust and less mess later. A quick towel pat-down is well worth it.
Once they’re dried, you can either give them a light dusting of a dry coating or leave them plain for a speedier option. The aim is to have a dry surface that lets the breading stick. The more moisture you remove at this stage, the crispier your final product will be. Trust me on this one — it makes a world of difference.
Set Up the Breading Station
Create a simple three-part breading station: a light dry mix, a beaten egg (or plant-based binder if you prefer), and seasoned crumbs. Arrange the olives in a single layer to make coating easy. Dip each olive through the stations, allowing excess coating to fall off before placing it on a parchment-lined tray. Keeping the coating thin and even helps the air fryer work its magic without burning or peeling.
If you’re stuffing the olives, you can slide the filling in before coating, but ensure it won’t ooze out during air frying. A small amount of binding between the stuffing and crust is key to keeping everything together. The goal is consistent coverage, not a thick shell that overwhelms the coating or creates heaviness.
Air Fry Until Golden and Crisp
Preheat the air fryer to a moderate temperature for even cooking. Place the olives in a single layer, making sure they don’t touch. Cook until the coating is golden and crisp, which usually takes about 8–12 minutes. Shake or turn them halfway through for even browning. If they come out a bit pale, give them a few more minutes in small increments. The delightful smell of toasted crumbs will tell you they’re nearly ready.
Look for the edges to darken just a touch and for the crust to develop a dry, crackly surface. Avoid overcrowding, as that can trap steam and make the breading soggy. If you’re unsure, test one as a sample to see if it has the right amount of crunch. I’ve got to say: crispy edges always beat soft ones!
Serve While Warm
Warm olives taste best. Let them rest for just a couple of minutes after coming out of the air fryer so the crust finishes setting. Serve them with a dipping sauce of your choice, along with a lemon wedge or fresh herbs for an extra pop. If you’re hosting, a colorful platter with various textures adds an appealing touch. These pair wonderfully with a fresh salad or crusty bread on the side.
Tips for Extra-Crispy Olives
Prevent Soggy Breading
The simplest fixes count the most: dry the olives well, avoid overcrowding the basket, and keep the breading light and crispy. A light spray of oil on the crust can help it crisp up without turning greasy. If you spot any soggy patches, pull those olives out and recoat them before putting them back in the air fryer. Small tweaks like this can make a big difference in texture.
Another handy tip is to chill the breaded olives for a short while before air frying. A quick chill helps the coating adhere during cooking. If you still see spots of sogginess, adding a tad of cornstarch to the dry mix can boost crispiness. Small adjustments can lead to impressive changes.
Stop the Filling from Leaking
If you’re stuffing olives, be sure to seal the filling tightly and handle the coating gently around it. Too much moisture can seep through the crust and cause leaks. A thin, even coating around the filling keeps the inside intact and the outside crispy. If you notice a leak starting, remove the olive, pat it dry again, and recoat it before putting it back in the air fryer.
Choosing the right filling helps, too. Creamy fillings that aren’t overly wet generally stay put better than runny mixtures. I’ve found that a modest amount of filling paired with a crisp crust is the best combination.
Best Temperature and Timing
Medium heat settings deliver the best browning without burning. For most air fryers, aim for about 375 °F (190 °C) and cook until the crust is golden and crisp. If your model tends to run hot, lower the temperature slightly and extend the time by a minute or two. If it runs cool, a brief preheat can help—no one wants pale, soft breading.
Give the basket a shake halfway through to ensure even coloring. Don’t crowd the pan; work in batches if necessary. Overcrowding not only slows down cooking but can also soften the crust. Patience here pays off, leading to a consistently crunchy bite.
Make-Ahead and Reheating Tips
These olives reheat wonderfully in the air fryer. Just pop them in a single layer for a few minutes to refresh the crust, and serve right away. For make-ahead prep, you can bread and chill the olives (but not freeze) up to a day in advance; that way, when you’re ready, it’s a quick finish. If you do freeze them, the coating may lose some crispness, so plan to re-crisp them in the air fryer longer than you would for fresh ones.
Store any leftovers in an airtight container in the fridge for up to two days. To reheat, place them in the air fryer on a lower setting for a short time to restore their crunch without burning them. The trick is to reheat gently, which preserves texture and avoids sogginess.
Variations, Dips, and Serving Ideas
Stuffed Olive Variations
Try stuffing olives with cream cheese, goat cheese, or almonds for different textures. Each filling adds a unique twist, from creamy to crunchy. If you’re into bold flavors, pairing a sharp filling with a crisp coating balances out the saltiness. You can also experiment with small herbs or citrus fruits inside the stuffing to brighten things up.
Keep the fillings compact to prevent leaks. A tightly packed center keeps the breading intact during frying. These variations offer a fun way to customize the dish for kids, adults, or any guests with dietary preferences. Have fun and taste as you go!
Mediterranean and Italian Versions
Add a little brightness to the olive flavor with Mediterranean-inspired seasonings like oregano, thyme, garlic powder, or lemon zest in the coating. A dash of chili flakes can provide a bit of heat that pairs nicely with the brine of the olives. These tweaks go wonderfully with a simple olive oil dip or a zesty yogurt sauce. The end result is a sunshiny, herb-forward appetizer that feels both rustic and elegant.
If you’re hosting a crowd, set up a small herb station so guests can customize their coating. It’s a simple touch that makes the dish more interactive and sparks conversation about flavor preferences.
Spicy and BBQ Variations
If you’re in the mood for something spicy, mix chili powder or paprika into the crumb coating or spritz on a little hot sauce before air frying. A smoky BBQ glaze brushed on after cooking can give the olives a bold, finger-licking finish. If you love heat, serve a trio of hot dips on the side, so guests can dial it up or down as they please.
You can easily adjust the spice level by varying the seasoning in the coating. The key is to add heat without overpowering the olives’ natural saltiness. A little balance truly goes a long way.
Best Dipping Sauces
Aioli, marinara, and lemon yogurt make great partners for fried olives. A garlicky aioli contrasts nicely with the crisp coating, while a fresh yogurt sauce adds brightness. You might also want to offer a herb-packed chimichurri or some simple extra-virgin olive oil with cracked black pepper. These dipping options let guests mix and match to their liking.
Serve the olives with a light salad, crusty bread, or roasted vegetables to round out the meal. A clean, crisp drink—like sparkling water or a chilled white wine—pairs beautifully with the briny olives.
Frequently Asked Questions
Can I Use Black Olives?
Yes, you can use black olives, but be aware they may differ in color and texture from green olives. Black olives are usually softer and milder; you might want to tweak the cooking time slightly to keep them crispy. Since they’re often riper, make sure to dry them well to avoid soggy spots in the crust. The flavor remains delightful and briny, just with a different visual appeal.
If you switch up the olive variety, consider adjusting the seasoning to fit the olive’s natural taste. A zestier herb blend can help keep things light, while a richer cheese or crumb can balance any sweetness. It’s really about finding that flavor balance.
Can I Make Them Gluten-Free or Vegan?
Absolutely! Just swap in gluten-free breadcrumbs and a vegan binding option (like a plant-based egg replacer or aquafaba) to keep them friendly for gluten-free and vegan diets. The breading needs to stick, so go for a binder that adheres well to the olives. You’ll still achieve that satisfying crunch and savory flavor.
If you’re vegan, you can skip the cheese or use a vegan cheese crumble that melts nicely with heat. The coating will still be crispy, and the overall taste will remain bright and satisfying. The trick is to ensure a good binder and keep that crust light.
How Do I Store and Reheat Them?
Store any leftovers in an airtight container in the fridge for up to two days. To reheat, pop them back in the air fryer in a single layer until the coating is crispy again, which usually takes just a few minutes. Avoid using the microwave, as it can soften the crust. For the best results, re-crisp in a hot air fryer to restore that all-important crunch.
If you’re prepping ahead of time, you can handle the breading and prep a day in advance, then fry them up when guests arrive. The texture stays pretty good with careful reheating, so you can enjoy them fresh-tasting with minimal effort.
Video: I Never Thought Olives Could Taste This Good!
FAQ – Air Fryer Fried Olives
Can I Use Black Olives?
Yes, you can use black olives, but color and texture may differ from green olives. Black olives tend to be a bit softer and milder; you may want to adjust the cooking time slightly to maintain crispness. Because they’re often riper, pat them dry thoroughly to prevent soggy spots in the crust. The flavor remains briny and delicious, just with a different visual appeal.
Can I Make Them Gluten-Free or Vegan?
Absolutely. Use gluten-free breadcrumbs and a vegan binding option (such as a plant-based egg replacer or aquafaba) to keep them friendly for gluten-free and vegan diets. The breading still needs to stick, so choose a binding that adheres well to the olives. You’ll still get that satisfying crunch and savory bite.
How Do I Store and Reheat Them?
Store leftovers in an airtight container in the refrigerator for up to 2 days. Reheat in the air fryer in a single layer until the coating is crisp again, usually a few minutes. Avoid microwaving, which can soften the crust. For best results, re-crisp in a hot air fryer to restore that crucial crunch.
Conclusion
When they come out of the air fryer, Air Fryer Fried Olives look absolutely irresistible, with a deep golden color and the aroma that beckons everyone to the table. You’re going to love the way the crispy breading breaks apart to reveal the juicy, briny olive center. This dish is a game-changer for entertaining or just for a snack! Give it a try – you might be surprised how simple and satisfying this recipe can be on a busy weeknight.