
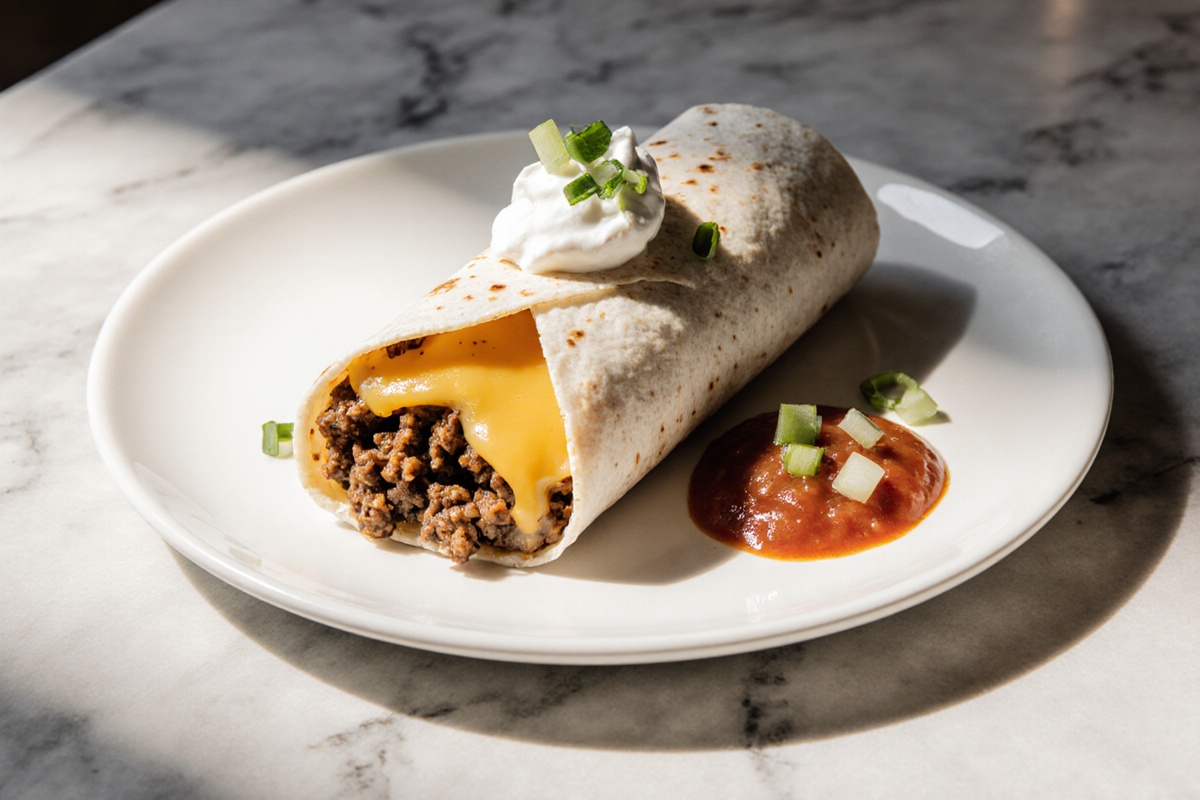
Beef and Cheese Burritos used to be one of those dishes I thought only belonged to weekend meal prep because they seemed tricky to get right. But after a few rounds of trial and error, I discovered a straightforward and effective way to whip them up during a busy weeknight. With a few simple steps and common ingredients, you get a hearty, flavorful meal that doesn’t require a ton of dishes or time. Trust me, once you get the hang of this recipe, it’ll become one of your go-to favorites for quick dinners.
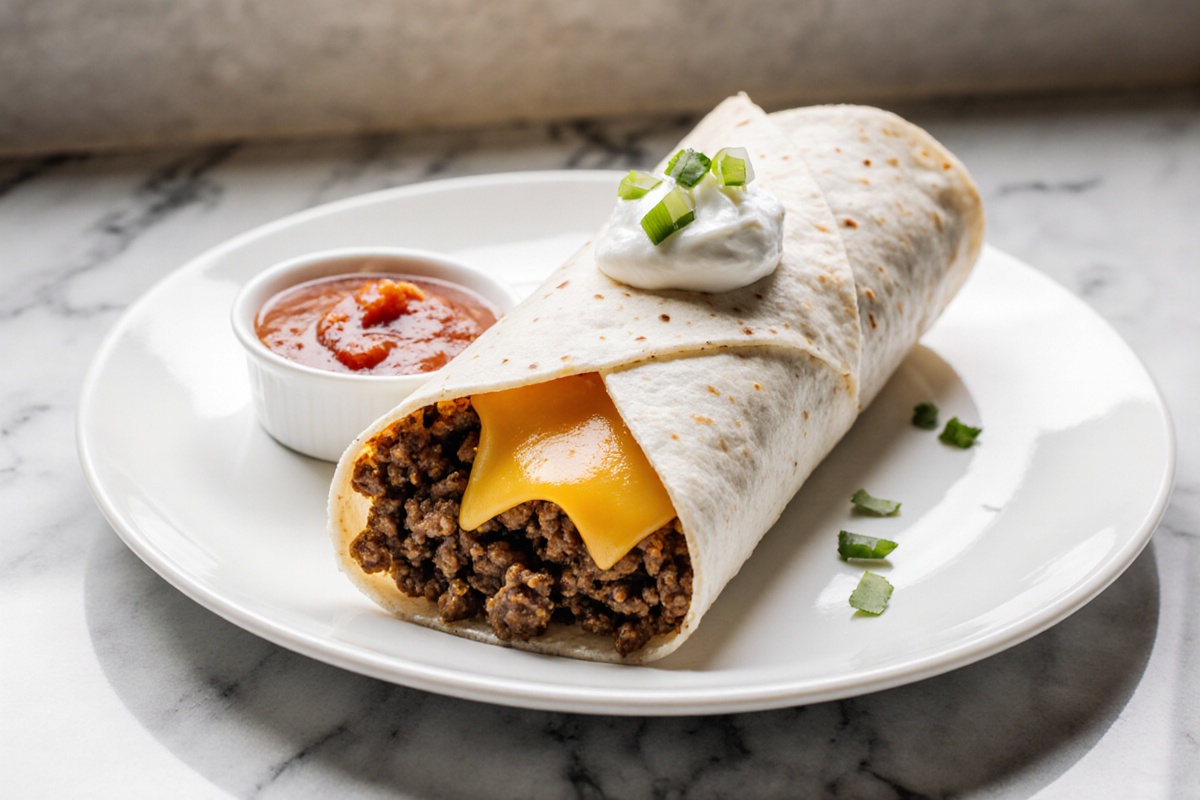
Recipe Card – Beef and Cheese Burritos
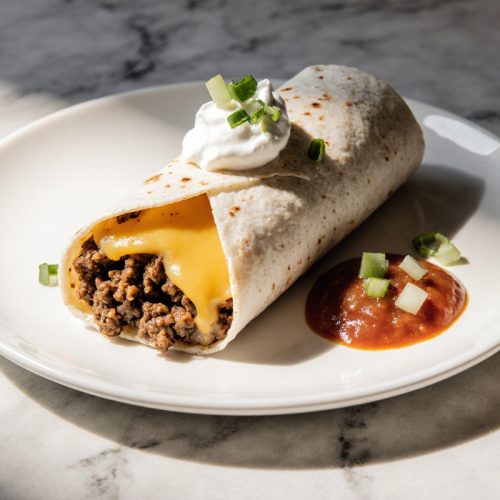
Beef and Cheese Burritos
Equipment
- Air Fryer
- Oven
- Mixing Bowl
- Skillet
- Baking Sheet
Ingredients
Ingredients
- 500 g Ground beef seasoned
- 2 pcs Large flour tortillas for wrapping
- 100 g Cheddar cheese shredded
- 1 pcs Onion chopped
- 2 cloves Garlic minced
- 5 g Chili powder for seasoning
- 5 g Cumin for seasoning
- 1 g Salt to taste
- 1 g Pepper to taste
- 30 ml Olive oil optional for crispiness
- 100 g Salsa optional
- 100 g Sour cream optional
Instructions
- Preheat your air fryer to 200°C (400°F). In a skillet, brown the ground beef with chopped onions and minced garlic. Season the beef with chili powder, cumin, salt, and pepper.
- Once the beef is cooked, spoon the filling onto each tortilla, sprinkle with shredded cheese, and roll tightly.
- If desired, spray or brush the outside with olive oil for added crispness. Place the burritos seam-side down in the air fryer.
- Air-fry the burritos for about 6-8 minutes, flipping halfway until they are golden and the cheese is melted.
- Alternatively, preheat your oven to 190°C (375°F) and bake the burritos on a parchment-lined baking sheet for 15-20 minutes until lightly crisp.
Notes
Beef and Cheese Burritos: A Delicious Overview
What This Recipe Is All About
Beef and Cheese Burritos are a hearty, versatile dish that wraps seasoned ground beef, melted cheese, and flavorful fillings inside a warm flour tortilla. This recipe embraces straightforward techniques: I brown the beef for extra flavor, melt cheddar or a Mexican-blend cheese, and roll everything up tightly so that the last bite remains juicy. It’s a dependable weeknight choice that you can customize with ingredients you likely already have, like beans, rice, or salsa. Trust me, following this step-by-step guide results in a comforting meal that feels pretty special.
Why It’s Popular in the USA
In the USA, beef and cheese burritos have become a beloved grab-and-go option. They’re comforting and adaptable, which makes them a hit with families, especially kids. From food trucks to home kitchens, the mix of protein, cheese, and a flexible tortilla hits a wonderful balance of taste and texture. They’re also easy to prepare for larger gatherings, and you can adjust the heat and fillings to cater to different preferences. It’s a classic dish that’s friendly for new cooks while still packing a flavor punch with everyday ingredients.
What You’ll Learn
You’ll pick up practical steps for developing flavor, wrapping a tidy burrito, and getting a crispy outside. I’ll show you how to season beef, melt cheese evenly, and choose fillings that fit your schedule. This guide also covers both air fryer and oven methods, plus storage and reheating tips to keep your burritos tasty after a long day. By the end, you’ll feel ready to make Beef and Cheese Burritos your own weeknight favorite.
Nutrition and Health Facts
Nutritional Breakdown per 100g
The nutritional values for Beef and Cheese Burritos can vary depending on fillings and tortilla size, but generally, you’ll see a good mix of protein, carbohydrates, and fats. The protein from beef and dairy helps keep you feeling full, while the tortilla gives you energy from carbohydrates. Fats come from cheese and any added oil or meat fat, so the overall profile will depend on your choices and portion sizes. If you’re mindful of your intake, consider using lean beef and lighter cheese options, or throw in more veggies to add fiber without significantly changing the calories.
Nutritional Breakdown per Serving
A typical serving includes one burrito or a portion split among two to three smaller wraps, depending on how full you want to feel. Protein mainly comes from the beef and cheese, while carbohydrates are from the tortilla and any rice or beans you decide to add. You can manage sodium levels by opting for low-sodium cheese and salsa, and you’ll likely boost fiber by mixing in beans, corn, or plenty of vegetables. For a balanced meal, serve your burritos with a fresh salad or some steamed greens to round out the plate.
Key Vitamins and Minerals
Beef gives you iron, zinc, and vitamin B12, while cheese adds calcium and phosphorus. The tortilla brings in small amounts of B vitamins and minerals from flour. When you toss in veggies like onions, peppers, tomatoes, or lettuce, you’ll enhance the vitamin C, potassium, and folate content. This combination provides a satisfying array of micronutrients that support energy and bone health, especially when you balance your portions with fresh produce.
Health Pros and Cons
The pros include a high protein content, which helps with fullness and muscle maintenance, along with the flexibility to add beans, veggies, or salsa for extra fiber and taste. On the flip side, some may deal with higher levels of saturated fat and sodium, particularly with full-fat cheese and certain spice blends. To keep Beef and Cheese Burritos on the healthier side, go for lean ground beef, choose part-skim cheese or a dairy blend, and load them up with vegetables. If you’re avoiding gluten, look for a corn tortilla or a whole-grain alternative.
How to Make Beef and Cheese Burritos
Ingredients
To create a classic Beef and Cheese Burrito, start with ground beef, onions, garlic, and a simple spice mix (like chili powder, cumin, salt, and pepper). Add shredded cheese for that gooey melt, and grab large flour tortillas to make wrapping easier. Optional extras can include salsa, sour cream, lettuce, tomatoes, beans, or rice. The key is having everything prepped before you roll, so the filling stays flavorful and the tortilla doesn’t tear. If you’ve had a couple of burnt burrito attempts before, don’t fret—this plan helps keep moisture in check and wraps nicely.
Air Fryer Method
Preheat your air fryer to 400°F (200°C). Brown the beef along with onions and garlic, and season it well. Spoon the filling onto each tortilla, sprinkle with cheese, and roll tightly, tucking in the sides. If you wish, lightly spray or brush the outside with a small amount of oil for crispness. Place the burritos seam-side down and air-fry for about 6–8 minutes, flipping halfway, until they’re golden and the cheese is melty. This method gives you a crunchy exterior without heavy fats. If they feel a little soft, add a minute or two extra, but keep an eye out to avoid burning.
Oven Alternative
Preheat your oven to 375°F (190°C). Prepare the filling as mentioned earlier, then fill and roll the burritos. Place them seam-side down on a parchment-lined baking sheet or in a shallow dish. Bake for 15–20 minutes, until the tortillas are lightly crisp and the cheese is melted. For extra browning, switch to broil for 1–2 minutes at the end while watching carefully to avoid scorching. Oven-baked burritos are forgiving and perfect for feeding a group or prepping meals ahead of time.
Storage and Reheating
Store any leftovers in an airtight container in the fridge for up to 3–4 days. You can reheat them in a microwave for 1–2 minutes per burrito, or in an oven at 350°F (175°C) for about 10 minutes until they’re hot throughout. If you froze burritos before cooking, thaw them overnight in the fridge and reheat as above. For the best texture, consider reheating in an air fryer at 360–380°F (180–190°C) for 4–6 minutes to re-crisp the outside. Always make sure to reheat to an internal temperature of 165°F (74°C) for safety.
Tips, Mistakes, and Flavor Boosts
How to Get a Crispy Burrito
A crispy exterior begins with a dry surface and a hot finish. Pat down fillings before wrapping to cut down on sogginess, and seal the burrito tightly. Sear the seam in a hot skillet for 1–2 minutes, then finish in the air fryer or oven to set the wrap. A light coat of oil on the outside can help with browning, but be careful to use just enough to make it glossy without making it greasy.
How to Avoid Sogginess
Sogginess often appears from too much filling or wet toppings. Drain excess liquid from meat, beans, or salsa, and include moisture-aware fillings like sautéed onions or peppers that don’t release much water. Wrap tightly with the seam facing down, and consider warming the tortillas briefly to make them more pliable before filling. If a burrito gets soft after sitting, a quick reheat in the oven or air fryer can bring back a crisp edge.
How to Pump Up Flavor Quickly
Boost flavor with a quick seasoning trick: add extra chili powder, cumin, smoked paprika, or a pinch of garlic powder while the beef cooks. Finish with a squeeze of lime juice and a handful of chopped cilantro for brightness. A spoonful of tomato paste or a dash of hot sauce can deepen the flavor without complicating the process. If you enjoy a bit of heat, feel free to fold in jalapeños or chipotle peppers for a smoky kick.
Variations and Sides
Regional Variations
Take the main idea and adapt it: swap in pepper jack cheese for extra melt and heat, mix in refried beans for creaminess, or fold in some corn for sweetness. You can enhance Southwestern flavors with green chilies and a hint of paprika, or go for a Californian style with avocado and salsa verde. If you’re serving a crowd with different tastes, set up a toppings bar so everyone can customize their burritos to their liking.
International Variations
Explore global twists by swapping beef for ground turkey or tempeh, using naan or flatbread instead of tortillas, and opting for cheese varieties that reflect local flavors. Add some curry-seasoned fillings for a fusion approach, or mix in quinoa or bulgur for a lighter touch. The concept of wrapped, stuffed bread with savory fillings travels well across cuisines—feel free to experiment safely with ingredients you love.
Best Side Dishes
Pair beef and cheese burritos with a fresh salad, a quick tomato and cucumber salsa, or a simple avocado-lime crema. Serve with black beans and rice for a comforting, complete meal, or pair with grilled corn on the cob for a sweet, smoky contrast. A small bowl of crunchy slaw adds texture and brightness to balance the richness of the filling.
Video: High Protein & Low Calorie Creamy Beef & Cheese Burritos …
FAQ – Beef and Cheese Burritos
Question: What can I do if my burritos turn out too dry?
Next time, try adding a bit more fat, like oil or cheese, or reduce the cooking time slightly. Checking on them halfway through cooking can help ensure they don’t dry out. Keeping an eye on them is key!
Question: How can I prevent my burritos from getting soggy?
Sogginess usually happens from too much filling or moisture-rich ingredients. Drain any beans or salsa before adding them and make sure to wrap them tightly so they hold up well during cooking.
Question: What’s the best way to store and reheat leftover burritos?
Store leftovers in an airtight container for up to four days. Reheat in the microwave for about 1–2 minutes or in an air fryer for 4–6 minutes to keep them crispy.
Conclusion
When you take that first bite of your Beef and Cheese Burritos, you’re going to love the crispy exterior and warm, cheesy filling. The combination of melty cheese and seasoned beef hits just right, and the aroma filling your kitchen will be enough to make everyone hungry. Trust me, you’ve got this! Give this recipe a try – you might be surprised how simple and satisfying it can be to create a comforting meal at home every weeknight.