
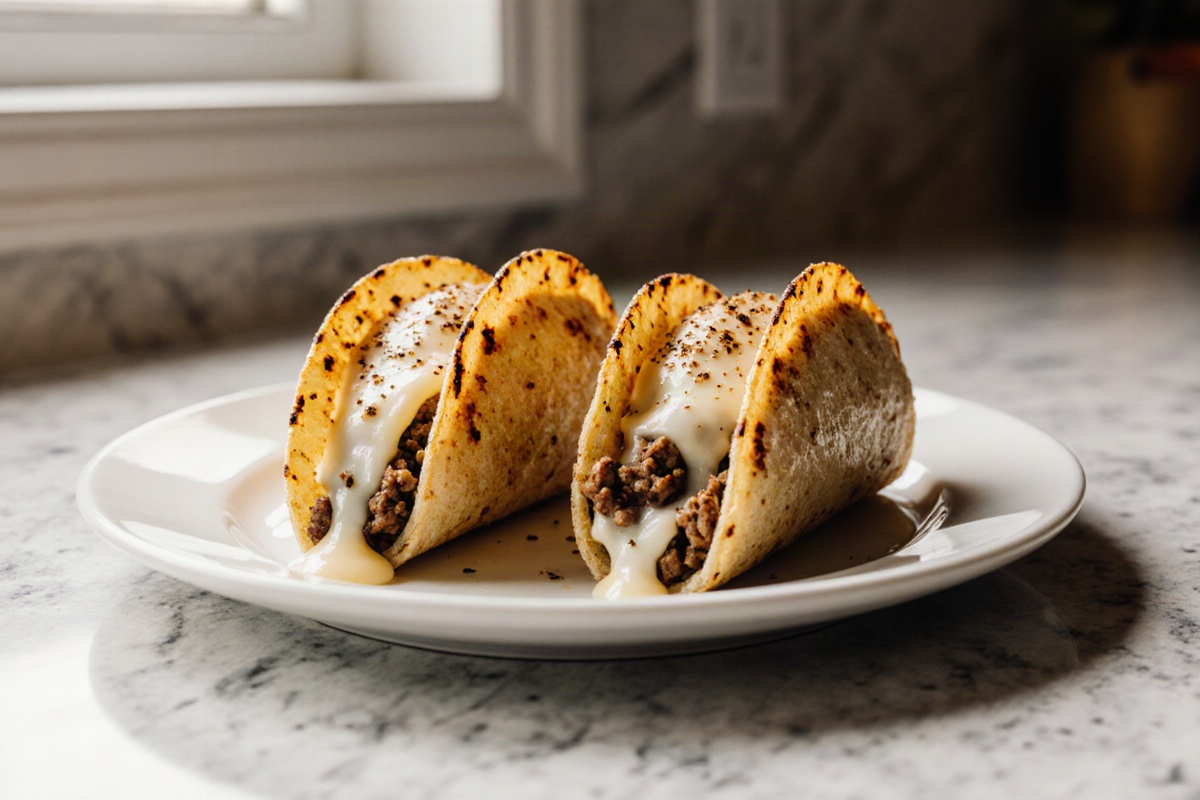
Air Fryer Taco Bombs used to intimidate me, feeling a bit fancy for weeknights and too easy to mess up. After some trial and a few culinary oops moments, I found my groove with a simple process that makes these flavorful pockets a weeknight staple. The best part? It’s quick, easy, and clean-up is minimal! With reliably crispy shells and gooey cheese that melts in your mouth, you’ll surprise yourself with how effortlessly delicious these can be. Once you give these a go, I’m confident they’ll become a go-to in your home cooking routine.
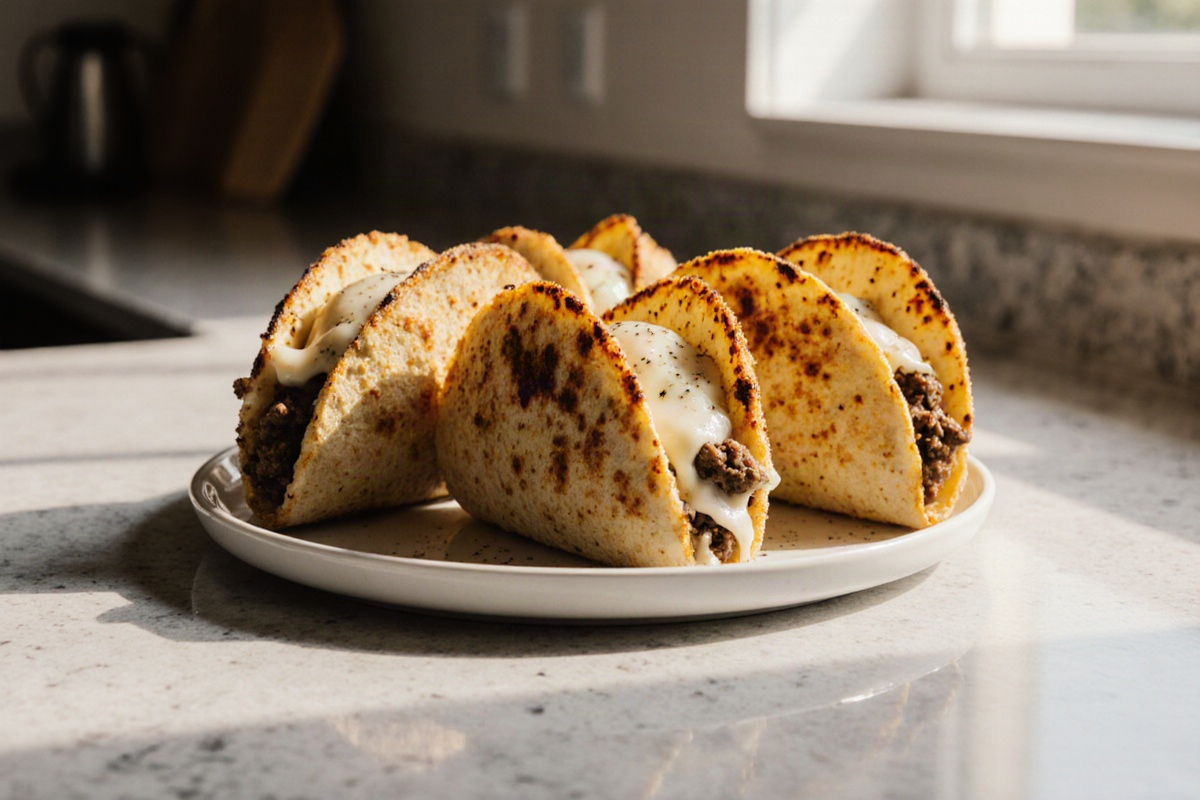
Taco your taste buds on a flavor adventure!
Recipe Card – Air Fryer Taco Bombs
Air Fryer Taco Bombs
Equipment
- Air Fryer
- Mixing Bowl
- Baking Sheet
Ingredients
Ingredients
- 500 g Ground meat your choice (beef, turkey, chicken, etc.)
- 100 g Cheese shredded, your choice
- 4 pcs Tortillas or dough of your choice
- 30 ml Oil for spraying
- 1 tbsp Taco seasoning or spices of choice
Instructions
- Start by cooking the ground meat until browned and fragrant. Add taco seasoning and mix well.
- Spoon the filling onto the center of each tortilla, leaving room to seal. Crimp the edges to securely enclose the filling.
- Arrange the taco bombs in a single layer in the air fryer, ensuring there's space between each for air circulation.
- Lightly spray the outside with oil and air fry at 200°C for about 15 minutes, turning halfway through. Check for golden brown color.
- Before serving, ensure the filling is heated through and the wrapper is fully cooked. Reseal any openings as needed.
Notes
Why You’ll Love These Air Fryer Taco Bombs
Crispy outside and cheesy inside
Air Fryer Taco Bombs deliver the best of both worlds: a crisp, bubbly exterior that gives way to a gooey, melty center. The air fryer makes the shell light and crunchy without deep-frying, while the cheese inside gives that satisfying pull in every bite. Trust me, this combo never fails to impress at family dinners or parties. To maximize crunch, avoid crowding the basket and let the air circulate freely around each bomb. Pro tip: a light spray of oil before cooking helps the outside turn beautifully golden.
Quick weeknight and game-day recipe
This dish shines when you need something flavorful in a hurry. It’s perfect for busy weeknights and easily scales up for game-day gatherings. The flavor is bold yet approachable, making it a hit with kids and adults alike. If you’re hosting, you can cook the filling ahead of time and assemble them just before cooking to save precious minutes. The aroma—savory filling, toasty crust, and melted cheese—will have everyone reaching for seconds.
Easy ingredient swaps
The beauty of these taco bombs is in their adaptability. Swap in ground turkey, chicken, pork, or beans for a flexible protein option. For cheese, consider a sharper cheddar or a melty Monterey Jack, or go dairy-free with vegan cheese. If you have a favorite salsa or pico, fold a spoonful into the filling for extra flavor. You can also switch the wrapper to a flour tortilla or even crescent dough if you want a different texture. Whatever you choose, the method stays friendly for home cooks.
Ingredients and Nutrition
Classic taco bomb ingredients
A simple, dependable lineup makes these a hit every time. You’ll want a savory filling, a cheese element for that signature melt, and a wrapper or dough to enclose everything. Seasoning is the bridge that ties all elements together, so a well-balanced mix of spices is key. Fresh toppings or a quick salsa can brighten things up after they’re baked. If you’re aiming for a classic flavor, keep the fillings hearty but not overly wet, so the bombs seal properly and hold together in the air fryer.
Substitutions for meat and cheese
If you’re avoiding meat or dairy, you still have great options. Use plant-based crumbles or seasoned lentils for the filling, and swap in dairy-free cheese or a dairy-free cream sauce for that melty goodness. If you need gluten-free options, choose a gluten-free wrapper or corn tortilla as your shell. Flavor remains center stage, so pile on spices, peppers, onions, or chipotle for extra depth. The focus keyword, Air Fryer Taco Bombs, still fits beautifully with any of these swaps.
Estimated nutrition per serving
Because fillings and sizes vary, precise nutrition per serving isn’t fixed here. Think of protein from the filling, fats from cheese and any oil used, and carbohydrates from the wrapper. If you’re tracking macros, estimate by portioning out a standard amount of filling and cheese per bomb, pairing with lighter toppings like salsa or veggies. For a balanced approach, aim to keep portions moderate and fill with plenty of crunchy texture from the shell.
How to Make Taco Bombs
Cook the taco filling
Start by cooking the taco filling until browned and fragrant, then season to taste. Browning adds depth of flavor that really comes through after the air frying. If you’re using beans, let them simmer so they thicken slightly and hold their shape inside the bomb. Taste and adjust your seasoning, because the filling will carry the flavor forward when enclosed in the wrapper. I’ve learned that a well-seasoned interior makes the whole dish sing.
Fill and seal the dough
Spoon filling onto the center of each wrapper, leaving room to seal. Gently fold and crimp the edges to fully enclose the filling and prevent leaks during air frying. A touch of water around the edges helps secure the seal better, and an egg wash can give a glossy finish if you’re using pastry dough. The goal is a snug, airtight seam so the filling stays put while you cook. Trust me, this step makes all the difference in keeping everything intact.
Air fry until golden
Arrange the bombs in a single layer with space between them for air flow. Air fry until the outside turns golden and the interior is heated through, turning once if your basket requires it. Don’t overcrowd the basket—air needs to circulate to achieve that signature crisp. If you notice uneven browning, rotate the tray or rearrange the bombs halfway through. The right amount of heat and space yields that crunchy shell and gooey center.
Check doneness and prevent leaks
Before serving, check that the interior is hot and the wrapper is fully cooked and sealed. If you see any seam openings, reseal them gently and return to the air fryer for a few more minutes. A quick pressure test—gently pressing the center—can help confirm that the filling isn’t too soft. Proper sealing and cooking time together prevent leaks and ensure each bite is as satisfying as the last.
Tips, Variations, and Serving Ideas
Make taco bombs extra crispy
For an extra crisp, spray or brush a light layer of oil on the outside and cook in a hot air fryer in small batches. A short preheat helps, so the shells hit hot air immediately. Keeping bombs evenly sized prevents one from finishing long before the others and ensures consistent texture. If you love extra crunch, finish with a quick blast of heat after browning to push the crust to a deeper, crisper color.
Make-ahead and freezing instructions
Assemble the bombs and freeze them on a baking sheet before transferring to a storage container. You can freeze them before filling or after sealing, which is handy for quick meals later. When ready to cook, bake or air-fry from frozen, adding a few extra minutes as needed. If you’re storing cooked leftovers, keep them refrigerated and reheat in the air fryer or a hot oven until the crust is crisp again.
Regional and international variations
Think of these as a food canvas you can adapt worldwide. Swap in different spice blends—think smoky chipotle, Cajun-inspired seasoning, or a bright herb mix—to change the flavor. Use different fillings like chorizo and cheese for a Spanish twist, or go vegetarian with grilled peppers, corn, and black beans. Even the wrapper can shift toward a tortilla, a pastry crust, or a dumpling-style skin for changed texture and influence.
Best dips and side dishes
Pair with a bright salsa, guacamole, and sour cream for a classic combination. A simple cilantro-lime slaw or a cucumber-jalapeño salad can cut through the richness beautifully. Serve with warm bread or tortilla chips on the side, and don’t forget lime wedges for a fresh squeeze at the table. These sides elevate the tacos without overshadowing their bold flavors.
Frequently Asked Questions
Cooking time and temperature
Times vary with size and wrapper choice, so use the bombs’ color and internal warmth as your guide. Start with moderate heat and check frequently, turning as needed for even browning. The goal is a golden exterior and a fully heated interior without drying out the filling.
Storage and reheating
Store leftovers in an airtight container in the refrigerator. Reheat in the air fryer or oven until hot and the outside stays crisp. Avoid reheating more than once to keep texture from deteriorating and flavors fresh. If you’re reheating from frozen, allow extra time and check that the center is heated all the way through.
Raw meat and food safety
Handle meat and fillings with clean hands and separate utensils to prevent cross-contamination. Cook fillings to a safe internal temperature before assembling. Once cooked, refrigerate promptly and store leftovers properly. Good hygiene and careful handling protect both flavor and your family’s health.
Gluten-free and vegetarian options
To ensure these are gluten-free, use gluten-free wrappers or corn tortillas and ensure any seasoning blends are gluten-free. For vegetarian versions, load the filling with beans, lentils, or mushrooms and opt for dairy-free cheese if needed. The method stays the same, with flexible ingredients that still deliver that crispy-tender contrast we all love.
Video: The Best Ever Ground Beef & Potatoes AIR FRYER CRISPY …
FAQ – Air Fryer Taco Bombs
Cooking time and temperature
Times vary with size and wrapper choice, so use the bombs’ color and internal warmth as your guide. Start with a moderate heat and check frequently, turning as needed for even browning. The goal is a golden exterior and a fully heated interior, without drying out the filling.
Storage and reheating
Store leftovers in an airtight container in the refrigerator. Reheat in the air fryer or oven until hot and the outside remains crisp. Avoid reheating more than once to keep texture from degrading and flavors fresh. If you’re reheating from frozen, allow extra time and check that the center is fully heated.
Raw meat and food safety
Handle meat and fillings with clean hands and separate utensils to prevent cross-contamination. Cook fillings to a safe internal temperature before assembling. Once cooked, refrigerate promptly and store leftovers properly. Good hygiene and careful handling protect both flavor and family health.
Gluten-free and vegetarian options
To keep these gluten-free, use gluten-free wrappers or corn tortillas and ensure any seasoning blends are gluten-free. For vegetarian versions, load the filling with beans, lentils, or mushrooms and opt for dairy-free cheese if needed. The method stays the same, with flexible ingredients that still deliver the signature crispy-tender contrast.
Conclusion
Once you pull those Air Fryer Taco Bombs from the fryer, you’ll be greeted with a golden, crispy exterior that hints at the melty, cheesy goodness waiting inside. The aroma is irresistible, and I can guarantee the first bite will have you marveling at your culinary success. These taco bombs are truly satisfying, with a delightful crunch followed by that warm filling. Trust me, you can absolutely master this recipe! So, roll up your sleeves and give it a try – you might be surprised how simple and satisfying this recipe can be on a busy weeknight.