
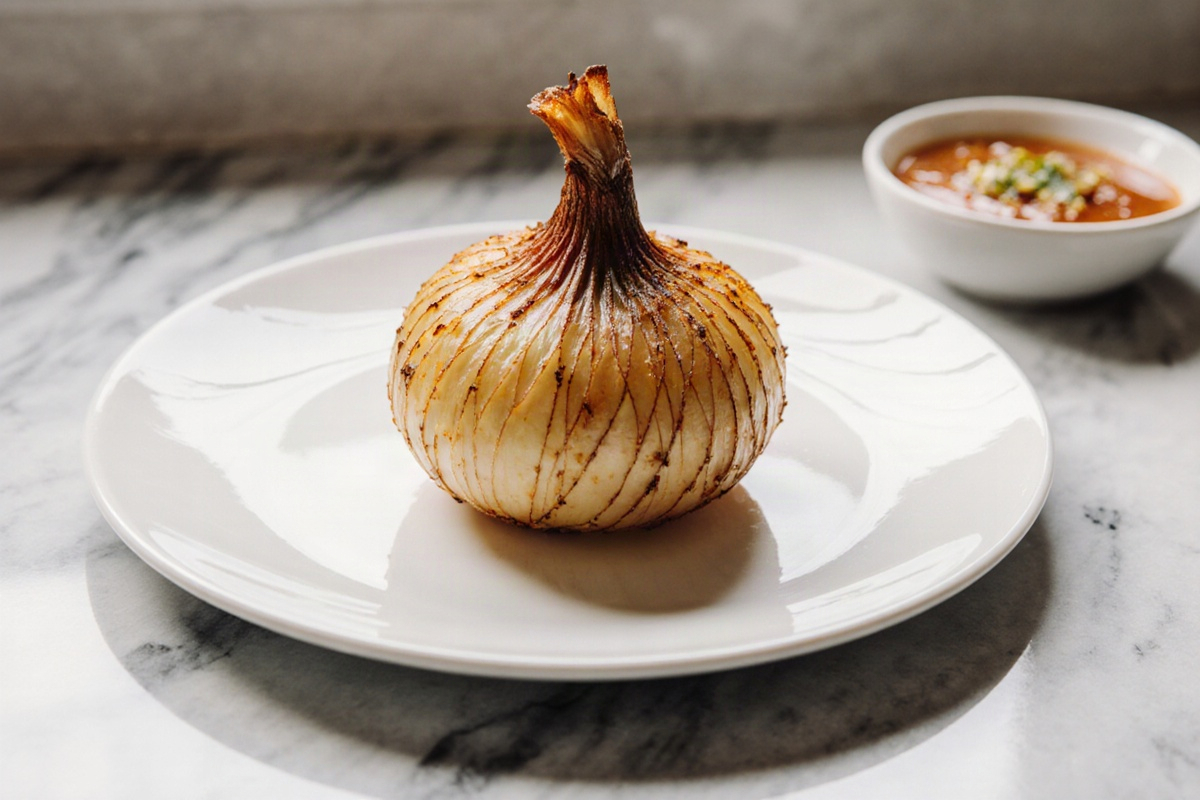
Air Fryer Blooming Onions used to be one of those dishes I thought were too complicated for a weeknight dinner. After a bit of trial and error (and maybe a few overcooked ones), I found a simple approach that delivers a gorgeous, crispy bloom without the fuss. This recipe is straightforward, requires minimal cleanup, and offers reliable results every time. The sweet onions are perfectly tender with a crunchy crust that impresses everyone around the table. Trust me, once you try making them this way, you’ll want to whip these up often!
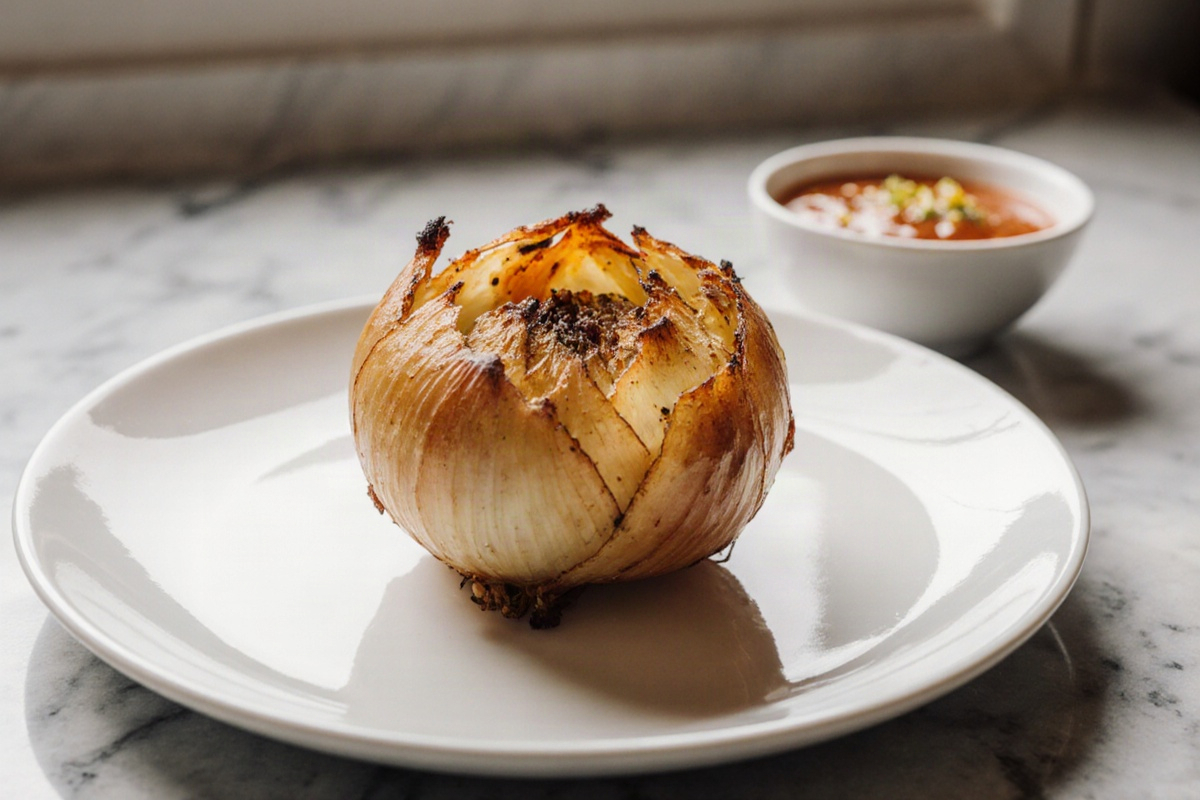
A blooming onion that blossoms into crispy perfection in the air fryer!
Recipe Card – Air Fryer Blooming Onions
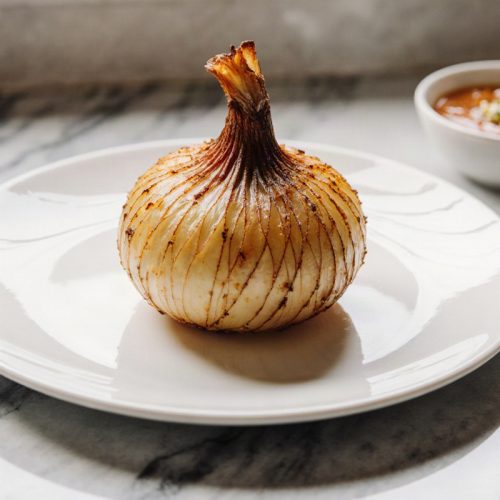
How to Make Air Fryer Blooming Onions
Equipment
- Air Fryer
- Shallow bowls
- Tray or plate
- Tongs
- Sharp knife
Ingredients
Ingredients
- 1 large Onion sweet variety like Vidalia or Walla Walla, trimmed and cored
- 100 g Flour for the dry coating
- 1 large Egg for egg wash
- 50 g Breadcrumbs or panko, for the outer layer
- 15 ml Oil spray for crisping
- 50 g Mayonnaise for dipping sauce
- 30 g Ketchup for sweetness in dipping sauce
- 5 ml Hot sauce to taste in dipping sauce
- 3 g Onion powder for dipping sauce
- 3 g Garlic powder for dipping sauce
- 3 g Paprika for dipping sauce
Instructions
- Preheat your air fryer to 193°C.
- Coat the onion with flour, then dip in the egg wash, and roll in breadcrumbs.
- Place the blooming onion in the air fryer basket, spraying it lightly with oil.
- Cook for 12–15 minutes, flipping halfway through, until golden and crispy.
- Let it rest for a minute before serving with dipping sauce.
Notes
How to Make Air Fryer Blooming Onions
Choosing and Cutting the Onion
Picking the right onion is key for a stunning bloom. Look for a large, firm onion that feels heavy and has tight, unbroken layers. I often go for sweet varieties like Vidalia or Walla Walla for a milder flavor, but any sizable globe onion will do. Start by trimming the top and root end, making sure to leave enough at the base to hold the petals together. This base is the backbone of your bloom, so treat it gently.
Next, gently core the onion so the center can separate into petals without falling apart. The classic blooming onion achieves its beautiful look through evenly spaced cuts from the top to the base, stopping just above the root. Around 12–16 slices usually create a fully open bloom when you spread the petals apart. Don’t cut all the way through the bottom; you want to keep the rings connected. If some petals happen to stick together, don’t stress—you can gently separate them with clean fingers later on. A sharp knife and steady hands make a big difference in how it turns out!
Ingredients and Equipment
Gathering the right ingredients and tools makes the air-fryer blooming process go smoothly. You’ll need a light coating (like flour or cornstarch, seasoned with salt, pepper, and paprika), a wet mix (like egg wash or buttermilk), and a crunchy outer layer (like breadcrumbs or panko). Have a shallow bowl for the dry coating, another for the wet dip, and a tray or plate to rest the coated bloom before air frying. A light oil spray is great for making that crust crisp up nicely.
For equipment, an air fryer with a basket works best to circulate hot air around the bloom. Keep some tongs handy for turning and removing the onion, and line your tray with parchment paper or a light cooking spray to prevent sticking. If you haven’t tried double-dredging before, now’s the time—lightly dust with flour, dip in the wet mix, then roll in breadcrumbs for extra crunch. Don’t forget to have a couple of dipping sauces ready to amp up the flavor. Just a heads up: spray the oil lightly to avoid any pooling at the bottom.
Step-by-Step Air-Fryer Method
Preheat your air fryer to 380°F (193°C) for even cooking. With the onion bloom all prepped, give it a coat in the flour, dip in the egg wash, and then roll it in breadcrumbs, pressing gently so everything sticks. Place the bloom in the air fryer basket with enough space for air to move around; a light mist of oil helps it crisp up beautifully. Cook for 12–15 minutes, flipping the onion halfway through, until the petals turn a lovely golden hue and the crust becomes crisp. If the center still feels a bit firm, let it go for a few extra minutes, keeping an eye on it to avoid burning. Let it rest for a minute before serving so the juices can settle. If it looks a bit uneven, a quick round at 360°F for 3–5 minutes can help smooth things out.
How to Achieve a Crispy Blooming Onion
How to Keep the Coating Attached
Getting the coating to stick is essential for a great bloom. Start with a dry onion—pat it down after cutting—so the coating has something to grab onto. Use a gentle “wet-dry-wet” dredge technique: first, a light dusting of flour, then a wet dip (egg wash or buttermilk), followed by a solid breadcrumb coating, pressing gently to seal everything in. For a bit more security, slightly rotate the onion as you apply the crust, and think about adding another light dusting of breadcrumbs after the first coat. A short chill in the fridge (10–15 minutes) after coating helps the crust set before frying. Trust me, this step really helps to keep the bloom’s shape and gives you that crisp surface.
Avoiding Burnt Tips and Raw Center
To prevent burnt tips or a raw center, pay close attention to temperature and spacing. Avoid overcrowding the basket; let each bloom have room for hot air to flow. Start with a moderate temperature, then finish with a burst of heat for the last few minutes if you need more crispiness. If you see the tips browning too quickly, cover them with a loose foil tent or lower the overall temperature by 25°F and extend the time a little. If you want the center to cook through, you can lower the onion on the rack to warm the inside thoroughly without overcooking the outside. Always check with a small bite or by piercing the center with a skewer for tenderness before serving.
Best Air-Fryer Temperature and Timing
The ideal temperature for air-fried blooming onions sits around 375–400°F (190–204°C) for 12–15 minutes. If you use a particularly large onion, it might take up to 18 minutes, but keep an eye on it to prevent scorching. For even results, flipping halfway and giving it a light oil spray will help with browning. If the coating isn’t crisp after 12 minutes, raise the temperature to 400°F (204°C) for the last 2–3 minutes. If it comes out a bit soggy, a quick 2–4 minute blast at 420°F (216°C) will dry it out, then let it rest briefly. The goal is a crunchy crust with a tender center.
Blooming Onion Sauce and Serving Ideas
Spicy Copycat Dipping Sauce
A zesty dipping sauce pairs perfectly with the bloom. Start with a base like mayonnaise or light yogurt, then add sweetness with ketchup or a bit of honey, and bring in some heat with your go-to hot sauce. For balance, a pinch of onion powder, garlic powder, and paprika will deepen the flavor. A splash of vinegar or lemon juice brightens it up. Mix gently until smooth, then taste and adjust for heat and tang. This sauce is easy to customize: if you like it milder, reduce the hot sauce; if you want more kick, just add a bit more. Serve it alongside the bloom for dipping or drizzling over the petals for a saucy look.
Ranch, Aioli, and Barbecue Options
If you want quick and tasty dips, keep some classic favorites on hand. A simple ranch can be made by whisking together mayonnaise, a splash of buttermilk, minced chives or dill, garlic powder, and a pinch of salt. For aioli fans, blend mayo with minced garlic and a squeeze of lemon, then whisk until it shines. If you prefer a smoky flavor, a light barbecue sauce or a smoky-chipotle aioli provides a nice contrast. These options cover a range of flavors—from cool and creamy to bold and tangy—allowing you to mix and match with your blooming onion based on your vibe or guests.
Best Side Dishes for Game Day
Blooming onions really shine with easy and crowd-pleasing sides. A tangy coleslaw adds crunch and brightness, while warm cornbread or soft dinner rolls offer comfort. For something heartier, serve crispy oven fries or seasoned potato wedges, and for a lighter touch, a simple green salad with a zesty vinaigrette works wonderfully. You could also pair the blooms with a hearty bean dip or a creamy spinach dip. On game day, these sides create a balanced plate that goes hand-in-hand with the bloom without overshadowing it.
Blooming Onion Variations
Southern and Cajun-Style
Bring a taste of the South with a pinch of Cajun seasoning in the coating and a splash of hot sauce in the dipping sauce. Toss in smoked paprika and garlic powder for warmth and depth. A cornbread crumb crust or a light cornmeal dusting gives an enticing crunch and golden color. You can serve this with an Arkansas-style remoulade or a drizzle of hot honey to finish. This version offers a bold comfort that stands up well to flavorful dipping sauces.
BBQ and Tex-Mex
Think smoky barbecue with spices like cumin, chili powder, and a hint of brown sugar in the crust. The dipping sauce can lean toward a creamy chipotle ranch or a tangy barbecue glaze for a lively finish. A lime-cilantro crema brightens the dish, and serve it with sides like smoky beans or grilled corn. Tex-Mex flavors pair wonderfully with a cool ranch or an avocado dip with a squeeze of lime, creating a festive, fiery mix.
Mediterranean and International Flavors
Try an herb-filled coating using paprika, oregano, and sea salt, plus a bit of lemon zest for brightness. For dipping, a yogurt-cucumber tzatziki or a vibrant harissa aioli provides a lovely contrast to the warm bloom. You can also spice things up with coriander and cumin in the crust for a Middle Eastern-inspired twist. Pair it with a citrusy salad and warm pita for a colorful, globally-inspired plate.
Frequently Asked Questions
Cooking Time
For most onions, plan for about 12–15 minutes at 380–400°F (193–204°C). Larger or denser onions may need a few extra minutes, but start checking at the 12-minute mark. If you find the edges aren’t crisping up, raise the temperature slightly for the final 2–3 minutes and flip halfway through for even browning. Should the center seem undercooked, give it another 2–4 minutes at a lower setting, and stay vigilant to avoid burning. I recommend tasting with a fork at 12 minutes and adjusting based on how your fryer works.
Ingredient Substitutions
You can adjust the coating based on what you have. Replace it with gluten-free flour or breadcrumbs if needed, and use almond milk or buttermilk instead of dairy for the wet dip. For a lighter crust, mix breadcrumbs with a bit of finely grated parmesan. If you’re skipping eggs, try a thickened plant-based milk with a hint of cornstarch for adhesion. Larger shallots can give a sweeter taste, or you can opt for a long white onion for a crisper feel. The coating should still stick well, so tweak the moisture content accordingly.
Storage and Reheating
Store leftovers best in an airtight container in the fridge for up to 2 days. Reheat in the air fryer at 350°F (177°C) for about 3–5 minutes or until nice and crisp. If you’re reheating multiple blooms, spread them out so they don’t steam together. Reheating may not be as perfect as serving fresh, but you’ll still enjoy a satisfying crunch. If you plan to prep blooms ahead of time, you can prepare the petals, freeze them flat on a tray, and then transfer them to a freezer bag; bake from frozen at 360–370°F (182–188°C) for about 15–20 minutes, checking for crispness.
Video: Easy Air Fryer Blooming Onion
FAQ – Air Fryer Blooming Onions
Cooking Time
For most onions, expect about 12–15 minutes at 380–400°F (193–204°C). Larger or denser onions may need a couple of extra minutes, but start checking at 12 minutes. If you’re not getting crisp edges, raise the temperature slightly for the last 2–3 minutes and flip halfway to ensure even browning. If the center still seems underdone, give it another 2–4 minutes at the lower setting, watching carefully to avoid burning. I recommend testing with a fork at the 12-minute mark, then adjusting as needed based on your fryer model.
Ingredient Substitutions
You can tailor the coating with what you have on hand. Swap in gluten-free flour or breadcrumbs if needed, and use almond milk or buttermilk as a wet dip if dairy isn’t available. For a lighter crust, mix breadcrumbs with a portion of finely grated parmesan. If you’re avoiding eggs, try a thickened plant-based milk wash with a touch of cornstarch for adhesion. Onion options include larger shallots for a sweeter bite or a long white onion for a crisper texture. The coating should still cling well, so adjust the moisture content accordingly.
Storage and Reheating
Leftovers store best in an airtight container in the fridge for up to 2 days. Reheat in the air fryer at 350°F (177°C) for about 3–5 minutes or until crisp. If you’re reheating multiple blooms, fan out the pieces so they don’t steam together. Reheating won’t be as perfect as fresh, but you’ll still get a satisfying crunch. If you plan to make blooms ahead of time, you can prep the petals, freeze them laid flat on a tray, then transfer to a freezer bag; bake from frozen at 360–370°F (182–188°C) for about 15–20 minutes, checking for crispness.
Conclusion
The final result of Air Fryer Blooming Onions is a stunning sight: the petals are golden and crisp, while the smell wafts through your kitchen, promising flavor and crunch with every bite. When you dip those petals into your favorite sauce, the combination is simply irresistible. It’s both satisfying to make and fun to serve. So, give it a try – you might be surprised how simple and satisfying this recipe can be on a busy weeknight!