
Hello there, fellow food enthusiasts! Chef Andrew here, and I’m thrilled to share a recipe that’s a true game-changer: Incredible Cherry Pie Crumb Bars. If you adore the classic taste of cherry pie but want something easier to make and share, you’ve hit the jackpot. This is your new #1 go-to, the ultimate Cherry Pie Crumb Bars recipe that’s simple to master and guaranteed to impress!
Table of Contents
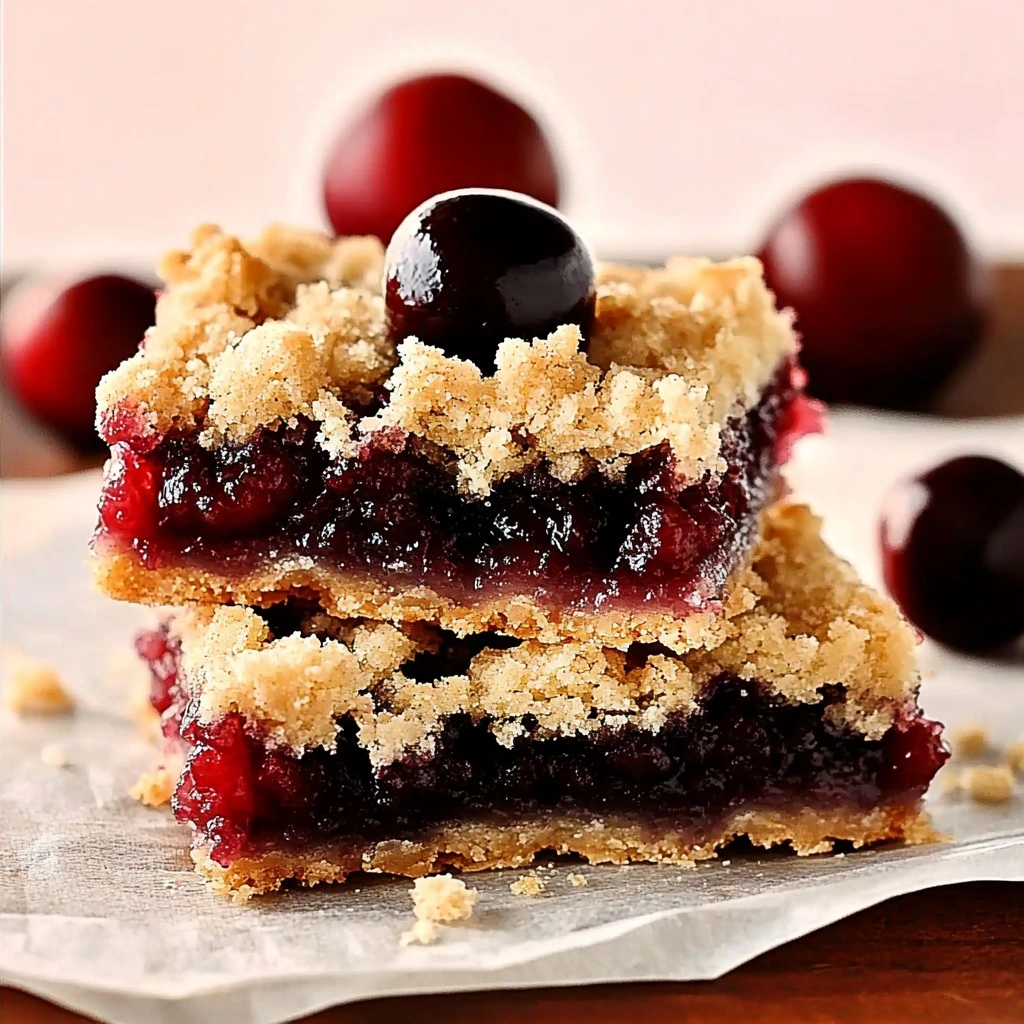
Forget complicated pie doughs. We’re packing all that juicy cherry goodness and a buttery, irresistible crumb topping into perfectly portioned bars. They’re ideal for any occasion, from picnics to potlucks, or just a delightful treat to brighten your day. Let’s bake some magic!

Incredible Cherry Pie Crumb Bars: The #1 Ultimate Recipe You Need!
Equipment
- 8×8 inch baking pan
Ingredients
Cherry Filling
- 2 cups fresh cherries pitted, halved
- 1 Tablespoon cornstarch
- 1 Tablespoon lemon juice
- 1 teaspoon granulated sugar optional
Crumb Crust & Topping
- 0.5 cup unsalted butter melted & cooled
- 0.5 cup granulated sugar
- 1.5 cups all-purpose flour
- 0.5 teaspoon baking soda
- 0.5 teaspoon baking powder
- 0.25 teaspoon salt
Optional Sprinkle
- 1 teaspoon granulated sugar
Instructions
- Preheat oven to 375°F (190°C). Line 8×8 inch pan with parchment (overhang); butter.
- Gently mix cherries, cornstarch, lemon juice, (optional sugar for filling). Set aside.
- Stir melted butter & ½ cup sugar. Add flour, baking soda, baking powder, salt. Mix with fork to coarse crumbs.
- Reserve ¾ cup crumb mixture. Press remaining into pan base.
- Spread cherry filling over base. Sprinkle reserved crumbs on top. Add optional 1 tsp sugar sprinkle.
- Bake 23-25 min until golden & bubbly.
- Cool in pan on wire rack (2-3 hours minimum).
- Lift out using parchment; cut into 9 squares.
Notes
Why This Cherry Pie Crumb Bar Recipe Shines
You might be wondering what makes these Cherry Pie Crumb Bars so special. Here’s the scoop:
- Simply Delicious: The balance is perfect – a tender, buttery base, a vibrant fresh cherry filling, and a generous golden crumb topping.
- Surprisingly Easy: Much simpler than a traditional pie! The crumb mixture cleverly serves as both the crust and the topping.
- Fresh Cherry Flavor: We’re using fresh cherries for that unbeatable bright, fruity taste.
- Perfect Crumb Texture: I’ll share the secret to a topping that’s genuinely crumbly and delightful.
Ready to create the best Cherry Pie Crumb Bars? Let’s gather our ingredients!
Your Ingredient Line-Up: The Key to Deliciousness
Quality ingredients are the heart of any great recipe. Here’s what you’ll need for your Cherry Pie Crumb Bars:
For the Luscious Cherry Filling:
- 2 cups Fresh Cherries (Pitted, Halved): Sweet cherries like Bing or Lambert are excellent. Halving helps them cook evenly.
- Chef’s Tip: A cherry pitter is a lifesaver!
- 1 Tablespoon Cornstarch: Our thickener for that perfect jammy consistency, preventing soggy bars.
- 1 Tablespoon Lemon Juice: Brightens the cherry flavor and helps the cornstarch work its magic. Freshly squeezed is best!
- 1 Teaspoon Granulated Sugar (for filling – optional): Use if your cherries are particularly tart.
For the Buttery Crumb Crust & Topping:
- ½ cup (1 stick) Unsalted Butter (Melted, Cooled to Room Temperature): Unsalted lets you control the salt. Cooling the melted butter is key for the right crumb texture.
- ½ cup Granulated Sugar (for crumb): Adds sweetness and contributes to tenderness and crispness.
- 1 ½ cups All-Purpose Flour: The structural backbone. Spoon and level your flour for accuracy!
- ½ Teaspoon Baking Soda & ½ Teaspoon Baking Powder: A dynamic duo for leavening, giving us a tender lift.
- ¼ Teaspoon Salt: Balances sweetness and enhances all other flavors.
Optional Final Touch:
- 1 Teaspoon Granulated Sugar (for sprinkling): Adds sparkle and a slight crunch to the topping.

Essential Kitchen Tools
- 8×8 inch Square Baking Pan: Metal is preferred for crisp edges.
- Parchment Paper: For easy removal and cleanup.
- Mixing Bowls (Large & Medium)
- Measuring Cups & Spoons
- Fork or Whisk
Baking Your Incredible Cherry Pie Crumb Bars: Step-by-Step
Let’s get our hands doughy and create these amazing Cherry Pie Crumb Bars!
Phase 1: Get Ready!
- Preheat & Prep Pan:
- Preheat oven to 375°F (190°C).
- Line an 8×8 inch pan with parchment paper, leaving an overhang. Butter the parchment and any exposed pan sides.
- Chef’s Note: A properly preheated oven and prepped pan are foundations for success.
Phase 2: Mix the Magic!
- Make Cherry Filling:
- In a medium bowl, gently stir together the halved fresh cherries, cornstarch, and lemon juice (and optional 1 tsp sugar for filling). Ensure cherries are coated. Set aside.
- (Ingredients: 2 cups fresh cherries, 1 Tbsp cornstarch, 1 Tbsp lemon juice, optional 1 tsp sugar)
- Chef’s Note: Letting this sit for a few minutes helps the flavors meld.
- In a medium bowl, gently stir together the halved fresh cherries, cornstarch, and lemon juice (and optional 1 tsp sugar for filling). Ensure cherries are coated. Set aside.
- Create Crumb Mixture:
- In a large bowl, stir together the melted (and cooled) unsalted butter and ½ cup granulated sugar.
- (Ingredients: ½ cup unsalted butter melted, ½ cup granulated sugar)
- Add the 1 ½ cups all-purpose flour, ½ tsp baking soda, ½ tsp baking powder, and ¼ tsp salt.
- (Ingredients: 1 ½ cup all-purpose flour, ½ tsp baking soda, ½ tsp baking powder, ¼ tsp salt)
- Stir with a fork until the mixture forms coarse crumbs. Don’t overmix!
- Chef’s Note: The fork helps create those lovely separate crumbs. The mixture should be shaggy, not a solid dough.
- In a large bowl, stir together the melted (and cooled) unsalted butter and ½ cup granulated sugar.
- Reserve Topping:
- Set aside ¾ cup of the crumb mixture for the topping.
Phase 3: Assemble Your Bars!
- Form the Base:
- Press the remaining crumb mixture firmly and evenly into the bottom of your prepared pan. Use the back of a spoon or your fingertips.
- Chef’s Note: An even base ensures even baking.
- Layer the Filling:
- Spread the prepared cherry filling evenly over the crust.
- Add Crumb Topping:
- Sprinkle the reserved ¾ cup of crumb mixture evenly over the cherries. Don’t pack it down.
- Final Sparkle (Optional):
- Sprinkle the 1 teaspoon of granulated sugar over the crumb topping.
- (Ingredient: 1 teaspoon granulated sugar)
- Sprinkle the 1 teaspoon of granulated sugar over the crumb topping.
Phase 4: Bake to Golden Glory!
- Bake:
- Bake in the preheated 375°F (190°C) oven for 23-25 minutes. The topping should be golden brown, and the filling bubbly around the edges.
- Chef’s Note: Ovens vary, so check around 20 minutes. If browning too quickly, tent loosely with foil.
Phase 5: The Crucial Cool-Down!
- Cool Completely:
- Remove from oven and place the pan on a wire rack. Cool COMPLETELY in the pan (at least 2-3 hours) before cutting.
- Chef’s Note: This is non-negotiable for neat bars! Warm bars will fall apart. Patience is rewarded.
Phase 6: Cut and Enjoy!
- Slice and Serve:
- Once fully cooled, use the parchment overhangs to lift the bars out. Cut into 9 squares with a sharp knife.
- Chef’s Note: For extra clean cuts, chill briefly before slicing. Serve as is, or with a scoop of vanilla ice cream!
Chef Andrew’s Top Tips for Perfect Bars
A few quick pointers for your Cherry Pie Crumb Bars:
- Fresh is Best (But Frozen Works): Fresh cherries offer superior flavor. If using frozen, thaw and drain very well to avoid excess liquid.
- Don’t Overmix Crumb: Keep that topping light and crumbly by mixing just until combined.
- Cool, Cool, Cool: Seriously, don’t rush the cooling. It’s the secret to perfectly set bars.
- Pan Choice: A light-colored metal pan is ideal for even baking and crisp edges.
Quick Variations
Make these Cherry Pie Crumb Bars your own:
- Nutty Topping: Add ¼ cup chopped almonds or pecans to the crumb topping.
- Spice it Up: Mix ¼ tsp cinnamon into the crumb mixture.
- Other Fruits: Try with mixed berries or diced apples (you may need to adjust sugar/spices).
Storing Your Delicious Cherry Pie Crumb Bars
- Room Temperature: In an airtight container for up to 2 days.
- Refrigerator: For up to 4-5 days (crust may soften slightly).
- Freezer: Wrap individual cooled bars well and freeze for up to 3 months. Thaw in the fridge or at room temperature.
Time to Bake and Share!
There you have it – a slightly quicker guide to making truly Incredible Cherry Pie Crumb Bars. This recipe proves that amazing flavor doesn’t always require hours of complicated steps.
I truly hope you enjoy baking, and more importantly, eating these delightful Cherry Pie Crumb Bars. They’re a testament to how simple ingredients can create something truly special.
I’d love to hear from you!
- Are you ready to bake these Cherry Pie Crumb Bars?
- What are your favorite baking shortcuts or tips?
- If you make them, please share your experience in the comments below!
More Recipes You’ll Love:
Decadent Black Velvet Cake Recipe (Shockingly Easy 6-Ingredient Version!)
Addictive Strawberry Cheesecake Crunch Bites – You Won’t Stop at One!
Or go to my Pinterest.
Quick FAQs
Should cherry crumb pie (or bars) be refrigerated?
Yes, it’s highly recommended to refrigerate your Cherry Pie Crumb Bars, especially since this recipe uses fresh cherries. Storing them in an airtight container in the refrigerator will keep them fresh and safe to eat for 4-5 days. While they can be left at room temperature for a short period after cooling (see below), refrigeration extends their shelf life considerably and is best for food safety.
Can you eat cherry pie (or bars) cold?
Absolutely! Cherry Pie Crumb Bars are delicious eaten cold, straight from the refrigerator. Some people even prefer them this way as the flavors can be more pronounced and the texture satisfyingly firm. Of course, you can also enjoy them at room temperature or slightly warmed.
How do you store homemade cherry pie (or bars)?
For homemade Cherry Pie Crumb Bars:
Cool Completely: Always let them cool completely at room temperature after baking before storing.
Airtight Container: Transfer them to an airtight container.
Refrigerate: Store in the refrigerator for up to 4-5 days for optimal freshness and safety.
Room Temperature (Short-Term): If you plan to eat them within 1-2 days, they can be stored in an airtight container at cool room temperature, away from direct sunlight or heat. However, refrigeration is always the safest bet for fruit-based desserts.
Can you freeze cherry pie bars?
Yes, you can definitely freeze Cherry Pie Crumb Bars!
Cool Completely: Ensure they are fully cooled.
Cut: Cut them into individual bars.
Wrap: Wrap each bar tightly in plastic wrap, then again in aluminum foil, or place the plastic-wrapped bars in a freezer-safe airtight container or zip-top bag.
Freeze: They can be frozen for up to 3 months for best quality.
Thaw: Thaw overnight in the refrigerator or on the counter for a few hours.
How long can cherry pie (or bars) sit out?
According to food safety guidelines, perishable foods like fruit pies or Cherry Pie Crumb Bars should not sit out at room temperature for more than 2 hours. If the room temperature is above 90°F (32°C), this time reduces to 1 hour. For longer storage, always refrigerate.
What kind of pies (or bars) can be frozen?
Fruit pies and bars, like these Cherry Pie Crumb Bars, generally freeze very well. Pies with apple, berry, peach, or cherry fillings are excellent candidates. Custard-based pies (like pumpkin or pecan before baking, or cream pies) can sometimes have texture changes upon thawing, but baked fruit pies and bars typically maintain their quality well when frozen and thawed properly.
Happy Baking!