
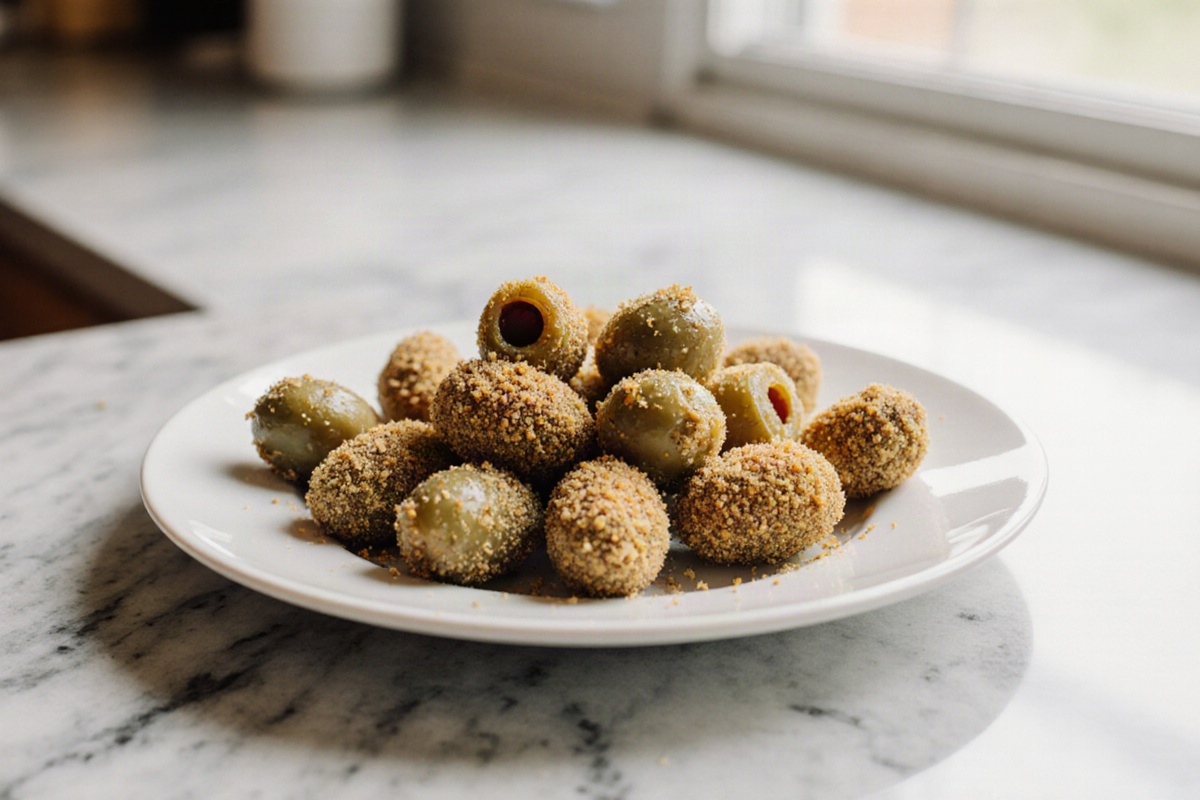
Air Fryer Fried Olives used to be one of those dishes I only made for special occasions because they seemed tricky. Surprisingly, I’ve figured out a way to whip them up easily on busy weeknights. This recipe keeps things straightforward—less oil, fewer dishes, and big flavor. Once you take that first crunchy bite, you’ll see how these making these crispy, briny bites can quickly become a go-to for any occasion.
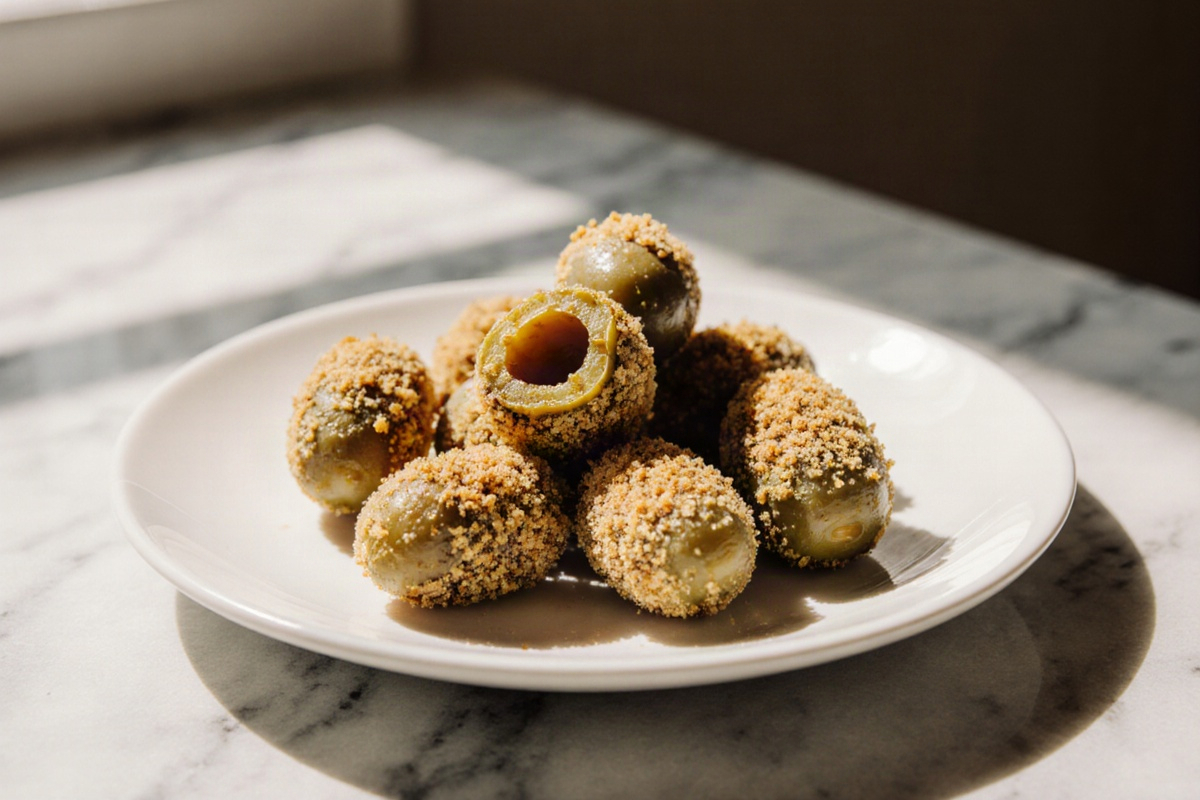
Olives just got an upgrade with this air fryer magic!
Recipe Card – Air Fryer Fried Olives
Air Fryer Fried Olives
Equipment
- Air Fryer
- Breading station
Ingredients
Ingredients
- 300 g Olives pitted or whole, bright and firm
- 100 g Breadcrumbs for coating
- 50 ml Olive oil for light coating
- 1 g Salt for seasoning
Instructions
- Start with well-drained olives and pat them completely dry to help the coating stick.
- Arrange a simple breading line with breadcrumbs, oil, and seasonings.
- Coat the olives evenly with the breadcrumb mixture.
- Place the olives in a single layer in the air fryer basket and cook at 180°C for 15 minutes.
- Check for golden brown color and crisp texture; they should feel firm to the bite.
Notes
Why You’ll Enjoy Air Fryer Fried Olives
Crispy Without Deep Frying
Air fryer fried olives give you a wonderfully crispy bite with much less oil than traditional deep frying. The hot air circulates, creating a light, crackly shell while ensuring the briny olive inside stays juicy. Trust me, this step makes the coating stick and remain crisp as you bite in and dip. You get that same snackable crunch without the greasy aftertaste, which means you can enjoy them as an easy party nibble or a briny start to any meal any night of the week.
Best Olives to Use
The beauty of this recipe is you can use olives you already love, as long as they’re in good shape—bright, firm, and not mushy. Whole olives work well, and you can choose between pitted or whole based on your preference. If you like stuffed olives, this method works nicely, but if the filling might leak through the coating, skip the stuffing for a simpler version. Medium to large olives usually hold up best in a quick air-fry.
How Many Olives to Serve Per Person
A small, crisp serving makes a great appetizer or snack. A common starting point is about 6–8 olives per person as an appetizing share plate, depending on your group and what else is on the table. If you’re feeding a bigger crowd as part of a spread, you can increase the number of olives and keep the dipping sauces ready for some fun variety. Adjust according to taste and appetite; these are easy to portion.
Ingredients and Nutrition for Air Fryer Fried Olives
Classic Breading Ingredients
A simple breading setup keeps the olives coated and crispy. You typically want a dry coating that helps the seasoning stick and a light binding element to keep that shell intact during air frying. The goal is to create a crisp exterior that remains flavorful without overpowering the olive’s brine. Keep your coating mix handy and your olives dry for the best adhesion, and remember: a sprinkle of salt can boost the olive’s natural flavor.
Optional Fillings and Seasonings
If you enjoy variety, you can customize fillings and seasonings to your taste. Try adding a pinch of citrus zest, garlic powder, or paprika to the breading for a brighter, more aromatic finish. For stuffed olives, pick fillings that won’t leak a lot during cooking, or skip the stuffing to keep the coating even and crisp. This is a great chance to play around with your favorite flavor profiles while keeping the outer shell intact.
Nutrition Facts and Sodium Tips
Olives bring plenty of flavor and natural sodium, so keep an eye on the added salt in the breading. If you’re watching your sodium intake, choose low-sodium seasonings and rinse brined olives if possible, then pat them dry thoroughly before breading. The air fryer method itself uses much less oil, which can contribute to a lighter finish overall. Pairing with fresh herbs or citrus can brighten the dish without loading on extra salt.
How to Make Fried Olives in the Air Fryer
Prepare and Dry the Olives
Start with well-drained olives and pat them completely dry to help the coating stick. Any moisture on the surface can cause steaming instead of crisping, so take a moment to dry them thoroughly. This small step makes a big difference in the final texture. I’ve learned that this kind of detail transforms a good nibble into a great one.
Set Up the Breading Station
Arrange a simple breading line: have a dry mix for coating, a light binder if you’re using one, and a final crisp coat. Keeping everything organized helps the coating stick evenly and prevents clumps. A clean, steady setup reduces mess and gives you consistent results across batches.
Air Fry Until Golden and Crisp
Cook the olives in a single layer, giving the air fryer room to circulate for even browning. You’ll know they’re turning golden and crisp when the shells show a uniform color and there’s a light aroma of toasty seasonings. Shake or turn halfway through if your model requires it; this helps every olive get an even crisp.
How to Tell When They Are Done
Finished olives should look visibly crisp, with the coating set and dry-looking, not pale or soggy. The exterior should resist bending and feel firm to the bite. If they come out soft, put them back in for a few extra minutes, keeping a close watch to avoid burning. It’s better to err on the side of being a bit too crispy than underdone for a nice bite-through texture.
Tips, Variations, and Dipping Sauces for Air Fryer Fried Olives
How to Keep the Coating Crispy
To keep that crunch, serve warm and avoid crowding the basket, which can trap steam. If you need to hold them temporarily, place them on a rack in a low-heat oven to re-crisp without steaming. A light dusting of breading plus a quick rest can help the shell reset for an extra snap. Trust me, this little rest makes all the difference in texture.
Stuffed Olive Variations
Try experimenting with stuffed olives in a way that won’t tear the crust. Cheese, sun-dried tomato, or herb fillings can add bursts of flavor, but choose fillings that won’t leak too much moisture into the coating. If you’re using delicate fillings, consider sealing with a firmer breading layer to help the outer shell stay intact during air frying.
Mediterranean, BBQ, and Spicy Versions
Think about flavor themes to match with the olives. A Mediterranean twist might include oregano, lemon zest, and garlic powder in the breading. For a BBQ feel, try smoky paprika and a touch of cumin; for some heat, toss in a little chili powder or crushed red pepper. Each variation keeps the core technique the same while inviting new flavor adventures.
Best Sauces and Side Dishes
Dip ideas that pair beautifully include yogurt-based herb sauces, lemon-garlic aioli, or a vibrant marinara for contrast. A simple side of crusty bread or a fresh green salad can round out the plate, giving balance to the salty, briny olives. A quick herb-rich drizzle over the olives themselves can also elevate the dish without adding heaviness.
Frequently Asked Questions about Air Fryer Fried Olives
Storage and Reheating
Store any cooled olives in an airtight container in the refrigerator for up to a couple of days. Reheat gently in the air fryer to get that crunch back; a short burst will return the crisp without drying them out. Avoid stacking or sealing them while warm, as that can trap moisture and soften the coating.
Gluten-Free and Vegan Options
If you need gluten-free options, use a gluten-free breading mix or crushed gluten-free crackers. For vegan adaptations, ensure binders and any dairy-based ingredients are either omitted or swapped for plant-based alternatives. The air fryer method still works well with these substitutes, keeping the crisp exterior and briny interior.
Troubleshooting Breading Problems
If the coating isn’t sticking well, dry the olives thoroughly and check your breading station for moisture buildup. If the coating is peeling after a bite, try a slightly thicker final coating or a light binding layer to help it stick. Re-dusting with the breading mix and popping them back in the air fryer briefly can fix a fragile crust and restore that satisfying crisp.
Video: CRISPY FRIED OLIVES in AIR FRYER – NO OIL/EGGLESS
FAQ – Air Fryer Fried Olives
Storage and Reheating
Store any cooled olives in an airtight container in the refrigerator for up to a couple of days. Reheat gently in the air fryer to re-crisp; a short blast will bring back the crunch without drying them out. Avoid stacking or sealing while warm, which can trap moisture and soften the coating.
Gluten-Free and Vegan Options
If you need gluten-free options, use a gluten-free breading mix or crushed gluten-free crackers. For vegan adaptations, ensure binders and any dairy-based ingredients are omitted or swapped for plant-based alternatives. The air fryer method remains effective with these substitutions, preserving the crisp exterior and briny interior.
Troubleshooting Breading Problems
If the coating isn’t sticking well, dry the olives thoroughly and check your breading station for moisture buildup. If the coating is peeling after a bite, consider a slightly thicker final coating or a light binding layer to help adhesion. Re-dusting with the breading mix and returning to the air fryer briefly can fix a fragile crust and restore the crisp bite.
Conclusion
When you pull out your Air Fryer Fried Olives, you’ll see a beautiful golden crust that invites you in. As you take a bite, the satisfying crunch gives way to a juicy olive, and the aroma will fill your kitchen with a wonderful, inviting scent. It’s a little snack that feels fancy but is oh-so-simple to make. Give it a try – you might be surprised how effortless and rewarding this recipe can be for your next gathering or weeknight snacking!