
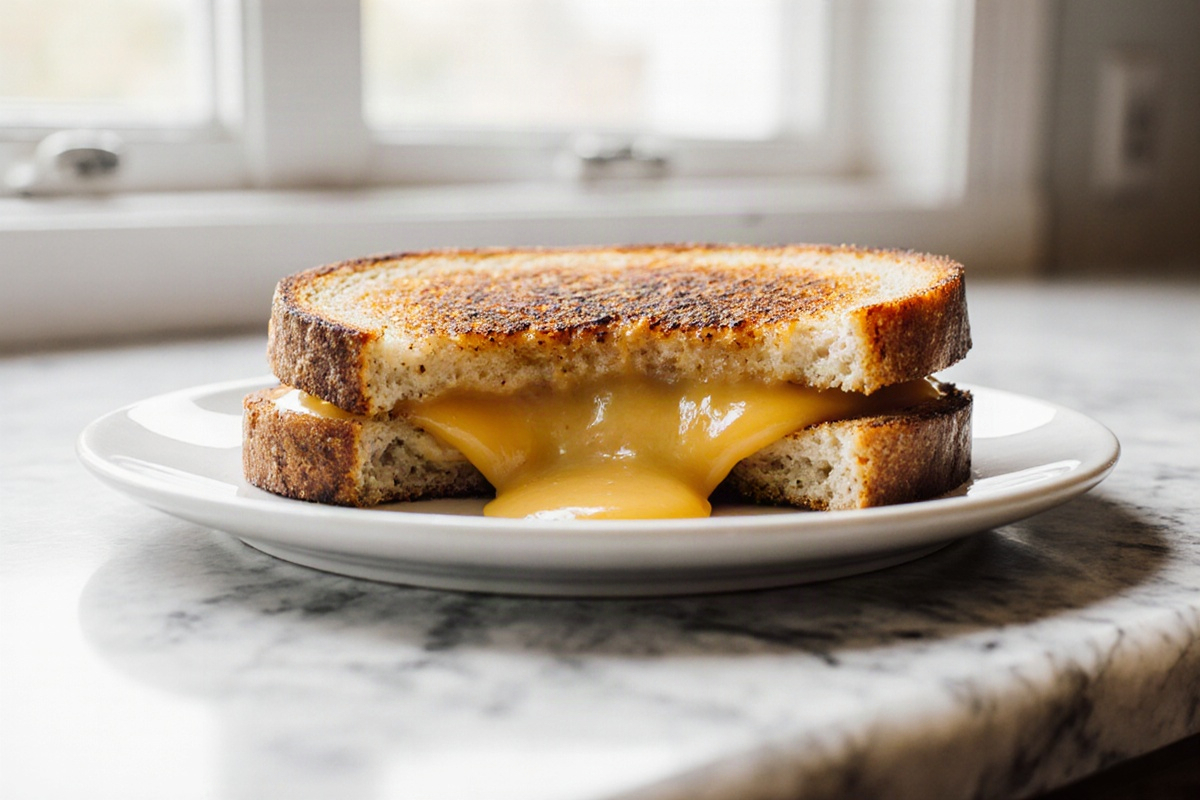
Air Fryer Grilled Cheese used to be one of those dishes I reserved for lazy weekends, often ending up with a soggy mess if I wasn’t careful. But once I figured out the right method, it became a quick go-to for busy weeknights. The steps are straightforward, using just a few ingredients, and the results? A perfectly crisp, melty sandwich that’s ready in under ten minutes! Trust me, you’ll find yourself making this grilled cheese more often than you think.
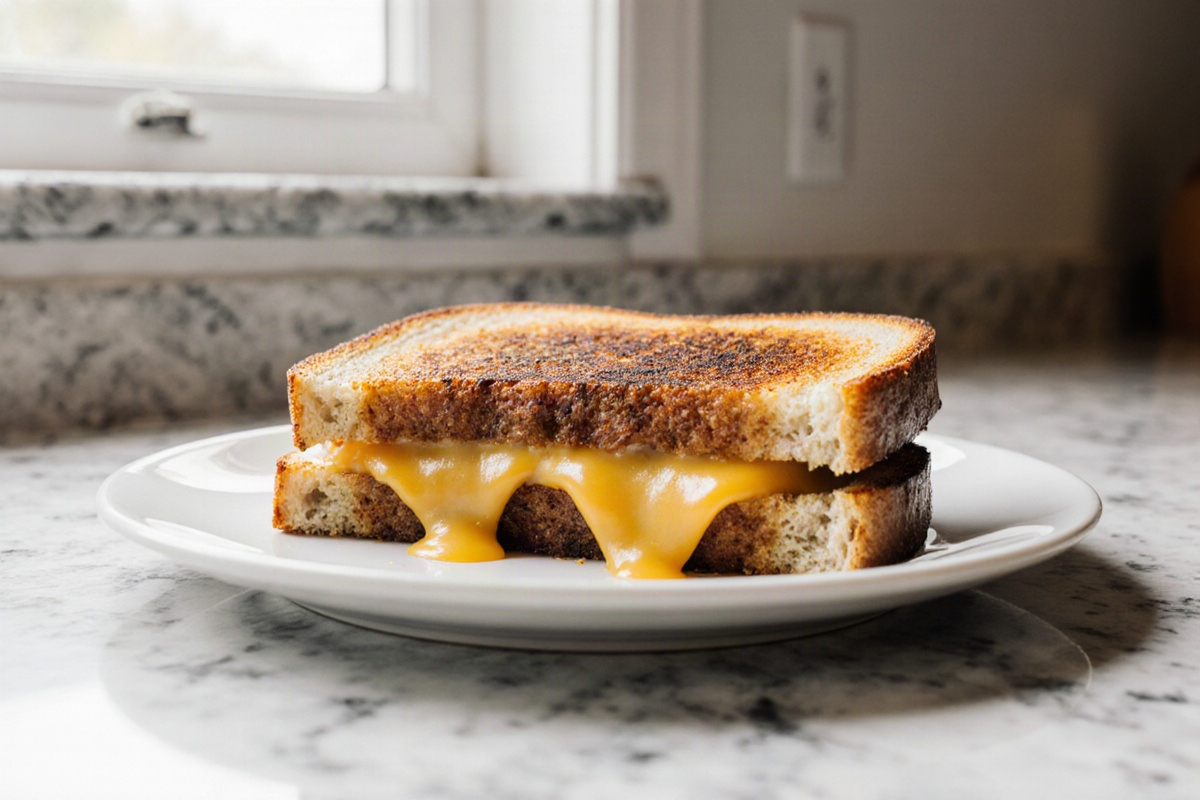
Crispy on the outside, melty on the inside – the perfect Air Fryer Grilled Cheese!
Recipe Card – Air Fryer Grilled Cheese
Making a Delicious Air Fryer Grilled Cheese
Equipment
- Air Fryer
Ingredients
Ingredients
- 2 slices Sturdy sandwich bread such as sourdough, white or whole wheat
- 75 g Cheese such as cheddar, mozzarella, or Swiss
- 10 ml Butter or mayonnaise for spreading
Instructions
- Preheat the air fryer to 175°C.
- Lightly butter or mayo the outer sides of the bread, then place the cheese between the slices.
- Place the sandwich in the air fryer basket and cook for 5–7 minutes, flipping halfway through, until golden and gooey.
- Let the sandwich rest for 1–2 minutes before serving to let the cheese finish melting.
Notes
Making a Delicious Air Fryer Grilled Cheese
Ingredients
To whip up a classic Air Fryer Grilled Cheese, grab two slices of sturdy sandwich bread and about 2–3 oz (60–85 g) of cheese for each sandwich. Go for cheeses that melt nicely, like cheddar, mozzarella, or Swiss. You’ll also need a fat to toast the outside, usually 1–2 tsp (5–10 ml) of softened butter or a light layer of mayonnaise on the outside. If you want to mix things up, try adding a couple of tomato slices or a sprinkle of garlic powder to boost flavor. For those watching calories, you can cut back on cheese a bit or select a lighter option, but keep in mind that this might affect how melty it gets. The rest comes down to technique, and I’m here to guide you through it.
Choosing the Right Bread and Cheese
Select bread that can handle the heat without falling apart—sourdough, sturdy white, or whole wheat all work great. For cheese, a mix often tastes best: sharp cheddar for a kick combined with mild mozzarella for meltiness, or go for creamier options like fontina or havarti for that extra soft center. Steer clear of overly crumbly breads or cheeses that won’t melt smoothly, aiming for about a 1:1 bread-to-cheese ratio for even coverage. If you’re cooking for a group, prepare a few different combinations so everyone can find their favorite. A practical tip? Keep a variety on hand and switch it up based on what you have in the fridge.
Step-by-Step Air Fryer Instructions
Preheat the air fryer to 350°F (175°C). Lightly butter or mayo the outer sides of the bread and place the cheese between the slices, ensuring full coverage. Set the sandwich in the basket and cook for 5–7 minutes, flipping it halfway through, until the bread is golden and the cheese is gooey. Let the sandwich rest for about 1–2 minutes before serving to finish melting and avoid a burning hot bite. If you like it extra crispy, you can add another minute or two, but keep an eye on it to prevent burning. Trust me, this little pause makes all the difference for melty, crispy perfection.
Tips for a Crispy, Melty Grilled Cheese
Keep the Sandwich from Flying Open
Piling on too much filling is usually the reason for a messy, falling-apart sandwich. Use a thin, even layer of cheese and press gently but firmly when you put it together. If you use heavier fillings, chilling the sandwich for 5–10 minutes can help. Once you’ve assembled it, give the edges a quick press with a spatula to seal, and avoid crowding the basket to allow good airflow. If you notice some edges coming apart, you can secure them with a couple of toothpicks—just be sure to remove them before serving. A compact sandwich gives you cleaner, crisper browning every time.
Avoid Burnt Bread
Start at a lower temperature with a shorter cook time to avoid scorching your bread. If the bread starts to brown too quickly, lower to 325°F (165°C) and add a minute or two. Check the bottom early and flip the sandwich when the crust is golden—not burnt. A light spread of mayo on the outside can help with browning, while butter alone might burn faster at higher temps. For the best results, rotate the sandwich halfway through if your air fryer doesn’t cook evenly, and keep a careful watch on how it’s browning.
Butter vs. Mayonnaise
Butter gives that classic, rich flavor, while mayonnaise tends to brown and crisp more reliably thanks to its emulsified fats. If you want that traditional taste with crispy edges, go with butter. But if you’re after extra crunch and quick browning, mayo is the way to go. You can even mix it up—try butter on one side and mayo on the other to see which you like better. Just remember to spread a thin, even layer to avoid clumps that burn and create uneven spots. No matter what, the trick is to apply it lightly and evenly.
Air Fryer Grilled Cheese Variations
Bacon Cheddar Twist
Take the classic up a notch with crispy bacon and cheddar. Start with your base sandwich, add 2–3 slices of pre-cooked bacon, and finish with sharp cheddar for that great flavor. A drizzle of BBQ sauce can add a nice smoky-sweet touch if you like. Cook as you usually would: 350–360°F for about 5–7 minutes, flipping it once. Let it rest for a moment so the cheese can fully melt around that flavorful bacon. This combo packs satisfying savory goodness in every bite.
Tomato Basil Mozzarella Delight
For a lighter, fresher variation, layer tomato slices and fresh basil with mozzarella. A light brush of olive oil or butter, plus a sprinkle of salt and pepper can really wake up the flavors. Cook at 350–360°F for 5–7 minutes, keeping an eye out for even browning and melted cheese. The end result is a fragrant, summery sandwich that pairs beautifully with a simple salad or bowl of soup. If you’re worried about moisture from the tomatoes, just pat them dry before assembling.
BBQ Pulled Pork Melt
Spread a thin layer of BBQ sauce on the bread, pile on warm pulled pork, and top it off with cheddar or Monterey Jack. This creates a tangy, smoky melt with juicy meat in every bite. Air-fry at 350–360°F for 5–7 minutes, flipping once to get even crust. After cooking, let it rest for a moment so the cheese can set and the pork can settle in. It’s an easy, crowd-pleasing upgrade that doesn’t take much time.
Kimchi and Cheddar Crunch
If you’re feeling adventurous, layer a few teaspoons of chopped kimchi with cheddar for a bold twist. A light drizzle of sesame oil or a few chopped green onions can elevate the aroma. Cook at 350°F (175°C) for about 5–7 minutes, then check for crispy edges and melted cheese. The kick of kimchi surprisingly pairs well with a mellow bread, balancing the heat and complementing the cheese’s richness. Serve it with something cool to help tone down the spice.
Perfect Sides to Serve with Grilled Cheese
Tomato Soup Pairings
Tomato soup and grilled cheese are a classic combination. A simple, lightly sweet soup goes perfectly with the savory cheese. For a quick version, blend canned tomatoes with onion, garlic, and a splash of cream; simmer for 15–20 minutes and season to taste. A pinch of sugar or a splash of cream will even things out and balance the acidity. Serve it warm in a bowl that’s perfect for dipping, and enjoy the cozy comfort of this timeless combination.
Fresh Salads and Pickles
A crisp salad or tangy pickles can provide a refreshing contrast to the rich sandwich. Keep dressings light so they don’t overshadow the cheese. Try a simple vinaigrette or cucumber dill pickles to cut through the richness. The bright acidity of the pickles or the crisp bite of a salad refreshes your palate, making every bite feel lighter.
Other Air-Fryer Side Dishes
Switch things up with quick air-fryer sides like spiced carrot fries, roasted broccoli florets, or sweet potato rounds. They cook fast and can be ready while your sandwich finishes. Just keep your portions small so you don’t crowd the basket, and finish off with a light sprinkle of salt or your favorite seasoning. A few crunchy sides really elevate the meal without slowing you down.
Air Fryer Grilled Cheese FAQ
Temperature and Cooking Time
A good starting point is 350°F (175°C) for 5–7 minutes, turning the sandwich once. If your bread browns too fast, reduce the temp to 325°F (165°C) and add a minute or two. For a quicker melt with thicker fillings, you can bump it up to 400°F (205°C), but keep a close watch to avoid burning. Always make sure the cheese is melted and the crust has a nice golden color before you serve it.
Cheese and Bread Questions
Choosing the right cheese is key—melty blends like cheddar-mozzarella or provolone work extremely well. Use sturdy bread that can handle the heat; too soft, and it can get soggy. To reduce moisture from tomatoes or other juicy fillings, pat them dry before assembling. If the texture isn’t melting just right, try adjusting your cheese slices for a thinner profile to help the heat penetrate more evenly.
Storage and Reheating
If you have leftovers, they can be stored in the fridge for 2–3 days in an airtight container. To reheat, use the air fryer at about 320°F (160°C) for 2–3 minutes to bring back the crispiness without burning. If you’re reheating straight from the freezer, add a minute or two and check for melt and color. For the best texture, skip the microwave—it’s better to use the air fryer to keep that crunch intact and give the cheese a lovely melty finish.
Video: Best Air Fryer Grilled Cheese | Easy, Kid-Friendly Recipe
FAQ – Air Fryer Grilled Cheese
What is the best temperature for air fryer grilled cheese?
A reliable starting point is 350°F (175°C) for 5–7 minutes, flipping once. If your bread browns too fast, drop to 325°F (165°C) and add a minute or two. Always ensure the cheese is melted and the crust is golden before serving.
How long do you cook grilled cheese in an air fryer?
Typically, you’ll want to cook your grilled cheese for about 5–7 minutes at 350°F (175°C). Don’t forget to flip it halfway through to ensure even cooking and crispy goodness on both sides!
Can I use different types of cheese for grilled cheese?
Absolutely! Melty cheeses like cheddar, mozzarella, or a blend of both work great. You can also experiment with softer cheeses like havarti for a creamier texture. Just avoid overly crumbly cheeses that don’t melt well.
Conclusion
Your Air Fryer Grilled Cheese is ready, looking golden brown and smelling divine. The crunch when you take that first bite, followed by gooey, melty cheese—it’s true comfort food at its best! Plus, you won’t be stuck with a sink full of dishes. Go ahead, give it a try—and enjoy that satisfying feeling when you realize how simple and delicious cooking at home can be!